A good portrait photo will not only stop at the moment of pressing the shutter, but the post-production process also plays an important role; it is the post-production that will help turn a beautiful photo into a soulful and emotional work of art.
Therefore, choosing the right portrait editing software will play an extremely important role, deciding the final quality of the photo. Adobe Lightroom is the top choice for managing and handling the entire workflow of a portrait photographer. Lightroom has the advantage of processing RAW files, helping to adjust white balance, exposure, and color accurately.
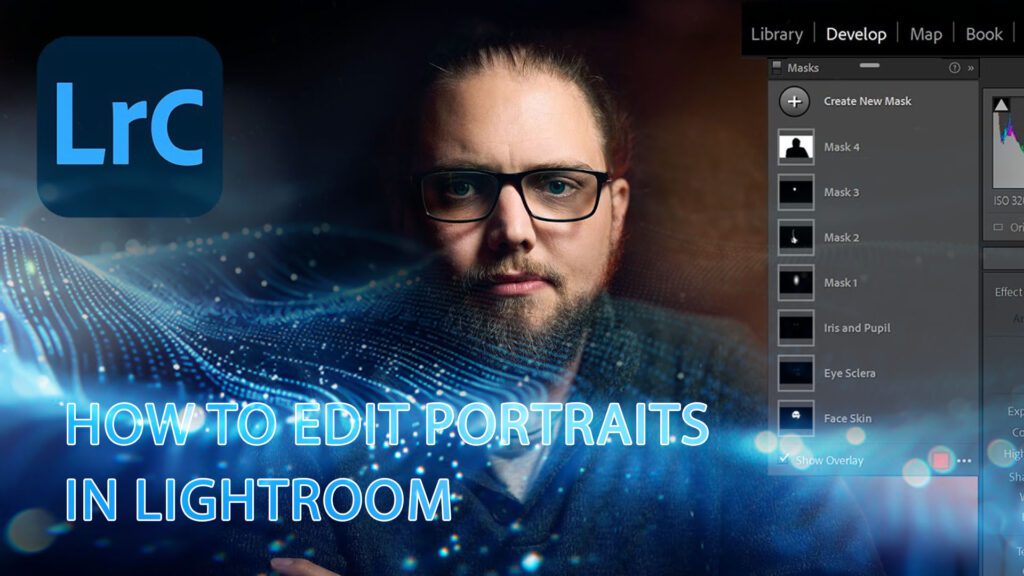
In this article, we’ll talk about Adobe Lightroom, which is an extremely intuitive tool for editing portraits. Here’s a step-by-step process to help you master how to edit portraits in Lightroom.

=> You might concern: What Is Portrait Photo Editing? A Complete Guide
Import and Prepare Your Portrait
The first and most important step is to import your photos into Lightroom and prepare them for editing portrait. Always shoot portraits in RAW format for maximum flexibility in post-production. In the Library module, you can view, organize, and select the best portraits from your shoot – also known as the culling process.
Once you’ve selected the photos you like, move on to the Develop module. Here, one of the first tasks to do is to apply Profile Correction to fix any distortion and vignetting issues caused by the lens.

Adjust White Balance and Exposure in Lightroom
The white balance and exposure indicators are what users need to pay attention to in order to edit a beautiful portrait photo. A photo with an incorrect white balance will make the skin color look unnatural.
You can use the Eyedropper tool and click on a white or neutral gray area in the photo to have Lightroom adjust it automatically. Or, you can manually tweak the indicators like Temperature and Tint to achieve a warm and accurate skin tone. Next, adjust the Exposure index to make sure the portrait photo has the right overall brightness.
Refine Highlights, Shadows, and Contrast
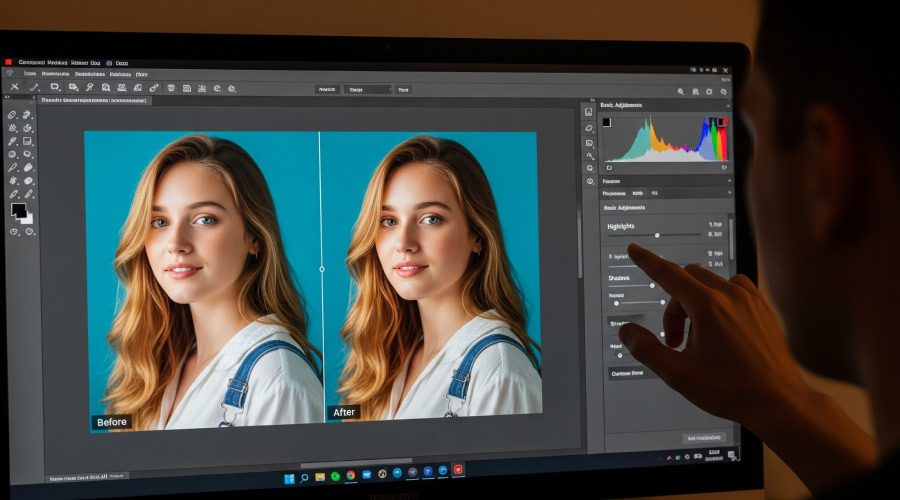
Once you have the overall brightness, the next step is to balance the highlights and shadows. This is an important step in creating depth in your portrait.
- Highlights: Reduce highlights setting to restore overexposed details, such as on the forehead, cheeks, or on a white shirt.
- Shadows: This will brighten up the shadows, allowing viewers to see the details in hair or dark clothing.
- Whites & Blacks: These two settings set the whitest and blackest points of the photo, increasing contrast and making the portrait look “sharper”.
- Contrast: Adjust the Contrast to achieve harshness or softness in the entire photo.

Enhance Colors (Vibrance & Saturation)
Colors have a big impact on the emotional expression of a portrait. Lightroom features two main tools: Vibrance and Saturation. Saturation increases the saturation of all colors evenly, so be careful not to make skin tones too bright and unnatural.
Vibrance, on the other hand, is a smarter tool; it mainly enhances desaturated colors and has less impact on skin tones. Therefore, for portrait editing, prioritize using Vibrance to make colors more vivid. In addition, you can use the HSL/Color panel to tweak individual colors.
Crop and Improve Composition
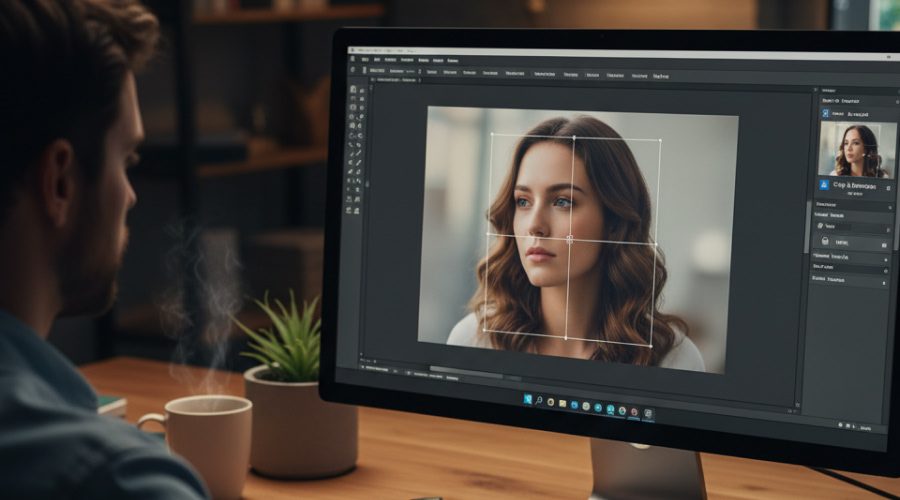
Always remember that composition is the key to attracting viewers. The Crop tool in Lightroom is not only for cropping photos but also for improving composition. Use grid lines like the Rule of Thirds to place your subject, especially the eyes, in the strong points of the frame.
Don’t forget to use this tool to rotate and straighten horizons or architectural lines in your photos. Trimming away excess detail at the edges of your photos also helps to focus the viewer’s attention entirely on the main character in your portrait.

Skin Retouching in Lightroom (Soften + Blemish Removal)
Skin retouching is one of the most anticipated steps when learning how to edit portraits. Lightroom provides effective tools for this.
- Blemish Removal: Use the Spot Removal tool (shortcut Q) to easily remove small blemishes like pimples, freckles, or stray hairs.
- Soften Skin: Use the Adjustment Brush tool (shortcut K). Choose a new brush, reduce the Clarity and/or Texture, then paint over the areas of skin that need to be smoothed. With Auto Mask turned on, it will help avoid painting over details like the eyes, eyebrows, and mouth. This technique helps smooth the skin naturally without losing the original skin texture.
=> Don’t miss our tutorial on how to retouch skin in Photoshop for a flawless finish
Enhance Facial Features (Eyes, Lips, Teeth)
To make the portrait really come alive, it is essential to highlight the facial features. Use the Adjustment Brush to create separate mask layers for each area, specifically paying attention to:
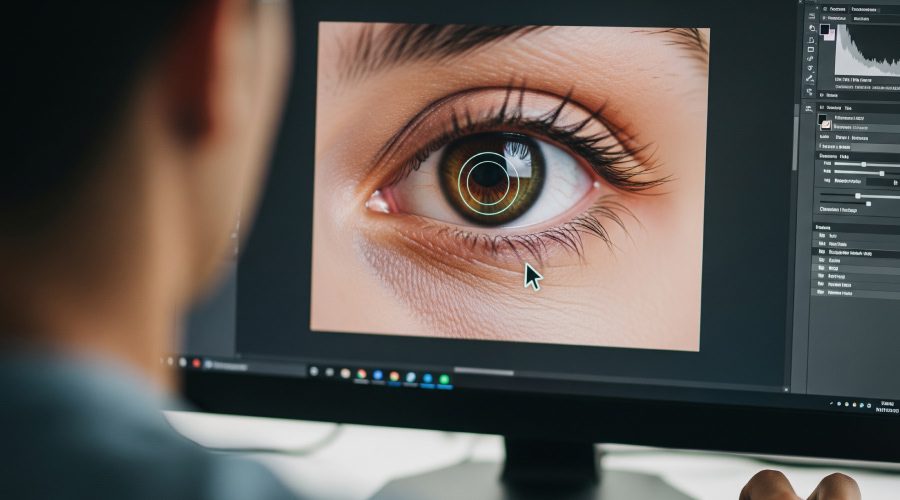
- Eyes: Create a new brush and slightly increase the Exposure, Clarity and Saturation to make the eyes brighter and sharper. You can do the same for the irises to create a sparkling effect.
- Teeth: If needed, use another brush with slightly increased Exposure and decreased Saturation to naturally whiten the teeth.
- Lips: Slightly increase the Saturation or Vibrance to make the lips look fresher and more vibrant.

Tweak Background and Hair
To make the portrait subject really stand out, you can tweak the background. Use the Radial Filter or Graduated Filter tool to drag a selection around the subject and reduce the Exposure or Dehaze of the outer areas slightly.
This will darken the background slightly, creating the effect of a focused light source on the subject. For the hair, you can use the Adjustment Brush to slightly increase the Highlights or Clarity, giving the strands more definition and depth.
Final Touches and Overall Polish
These are the final touches to complete your portrait. You can add a little Vignette to bring the focus more to the center. Use the Detail panel to increase the sharpness.
An important tip is to hold the Alt/Option key while dragging the Masking slider; only the white areas that are visible will be sharpened, helping to retain the smooth, natural skin.
Choosing the right portrait editing software and mastering editing techniques are key to improving your portraits. The big advantage of Lightroom is the ability to batch edit and use presets, helping to create a consistent style for an entire portrait shoot quickly and effectively, saving a lot of time for photo editors. If you want to explore more on how to edit portraits in Lightroom professionally, contact DIGI-TEXX for more information.
Lightroom gives you speed and consistency, but if you want detailed retouching, don’t miss our article on how to edit portraits in Photoshop.
=> Read more:


