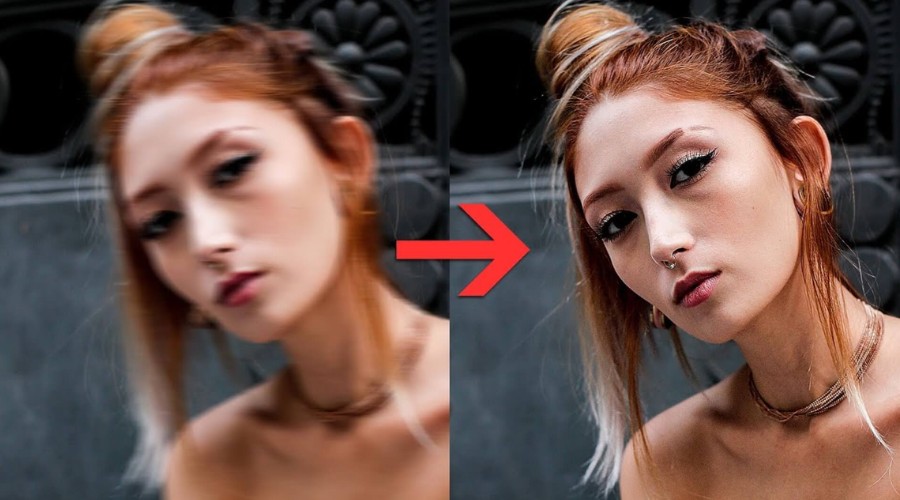
No one wants a seemingly perfect photo to be ruined by problems like being out of focus or too blurry. Whether the cause is a handshake, bad focus, or low light, blurry photos are always a big disappointment for photographers. The good news is that you can completely restore the sharpness of these photos. In this article, we will guide you on how to retouch blurry photos using both modern AI photo retouching tools and manual techniques, helping you effectively overcome common defects.
=> Read more: A Complete Guide to Photo Retouching Services for Businesses
Why Do Photos Become Blurry?
Camera shake
One of the most common reasons for blurry photos is camera shake, which happens when you hold your device unsteadily or don’t use an image stabilization tool for your camera. Blurry photos can also come from many other factors, such as shooting conditions, and even a small movement can make the entire image look blurry.
Before you learn how to retouch blurry photos, you should find out what causes your photos to be blurry. If the photo is blurry due to the way you took the photo, fix it by using a tripod or turning on image stabilization when taking the photo.
Incorrect focus
Blurred images also produce an incorrect way of detecting the obvious flaw, although you may get a clear image of the background instead of the main one. This problem often occurs when you set the auto focus mode and shoot at a responsive speed.
When exploring how to retouch blurry photos, it is important to note the blur in relation to the focus. There are many tools that help to some extent, but achieving high accuracy when shooting is still essential to achieve the best results.
Low light and motion blur
Taking photos in low light can lead to motion blur, which is more likely to happen when the subject moves or the shutter is open too long to compensate for the darkness. This causes streaks in the photo and is difficult to completely retouch.
To fix this, you need to combine the use of support tools such as AI, adjust the contrast, or convert the image to black and white to reduce the distraction. However, prevention is always the best way to get the perfect photo. You should adjust the ISO higher, wider aperture or outside light can significantly reduce motion blur.
Fixing Blurry Photos with AI-Powered Tools
As AI is increasingly applied in many aspects, retouching blurry photos has become easier, so there is no need to rely much on people with professional design skills. AI photo retouching tools can automatically detect and improve many different types of photo flaws. Some errors that AI can easily fix quickly and conveniently are photos that are blurred due to motion, blurred due to wrong focus, or camera shake.
Currently, to make it convenient for most users to use, these platforms have a very simple way of using them with just a few steps as follows:
- Access the photo retouching feature on the retouching platforms or applications.
- Upload the image you want to retouch for processing.
- AI will scan and analyze the image to determine the subject that needs to be processed.
- The photo will be automatically clarified, some platforms also allow you to adjust the sharpness level if you want.
- Finally, you just need to download the image to your device and you’re done. Many platforms will allow you to download it for free, but there will be a limit on the number of times.

It can be said that these are very useful tools that help you save time and, most importantly, they are suitable for both beginners and experienced people. Depending on each different image, the image quality after processing will also be different. Although it cannot be completely fixed, AI can help improve the clarity significantly so that you can still take advantage of the image.
Some popular AI tools that help you learn how to retouch blurry photos include:
- Fotor – AI Photo Enhancer
- Topaz Photo AI
- Remini
- Pixelcut – Unblur Tool
- Let’s Enhance
Whether it’s a portrait, landscape, or product photo, the AI photo retouching tool can help you restore sharpness quickly and effectively, improving image quality without complicated operations.
Manual Photo Retouch Techniques
In addition to AI retouching platforms, manual retouching with techniques will help you improve the sharpness and control the details of the photo better. If you are looking to learn how to retouch blurry photos, performing the following operations in Photoshop, Lightroom, or similar software will be an effective solution to improve the clarity of the image.
1. Sharpening
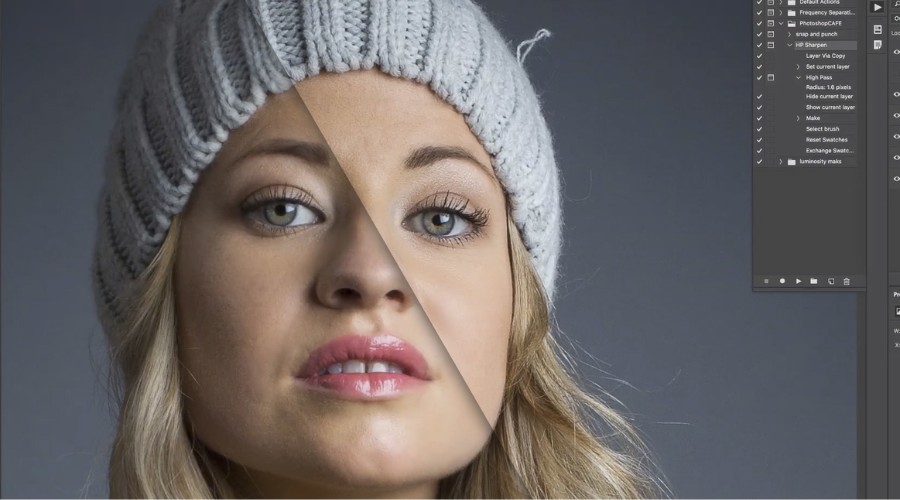
This is one of the popular features in how to retouch blurry photos manually. The sharpening technique will help increase the contrast between adjacent pixels, which makes the details clearer. In Photoshop software, you can find the Unsharp Mask or Smart Sharpen filter to do it. In Lightroom, in the Detail and Amount bars in the sharpening section, adjust to achieve the effect you want.
2. Clarity
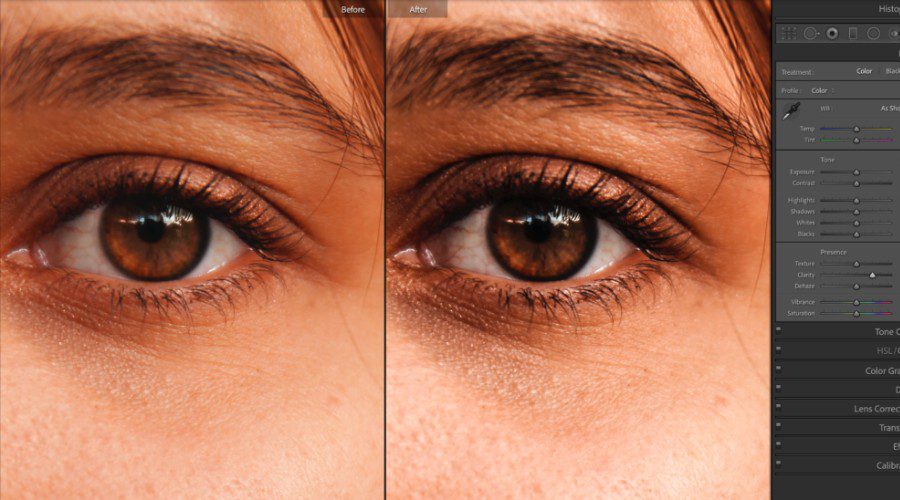
The Clarity bar is a feature that increases the contrast in the mid-tones, which will help highlight the small details that are blurred in the image. This is an essential tool when you want to add depth and sharpness to the image without changing the overall brightness of the image.
3. Increase contrast and brightness
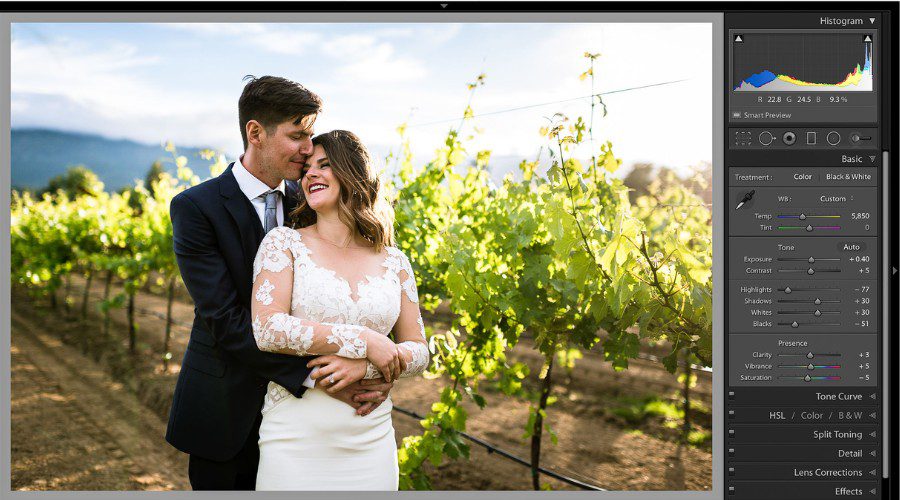
Increasing contrast and brightness is also a way to make the image feel sharper by emphasizing the difference between light and dark areas of the image. However, this is not a direct method of sharpening the image, but if you are skilled in using editing software, when combined with other features, it can significantly improve visual perception.
4. Noise Reduction
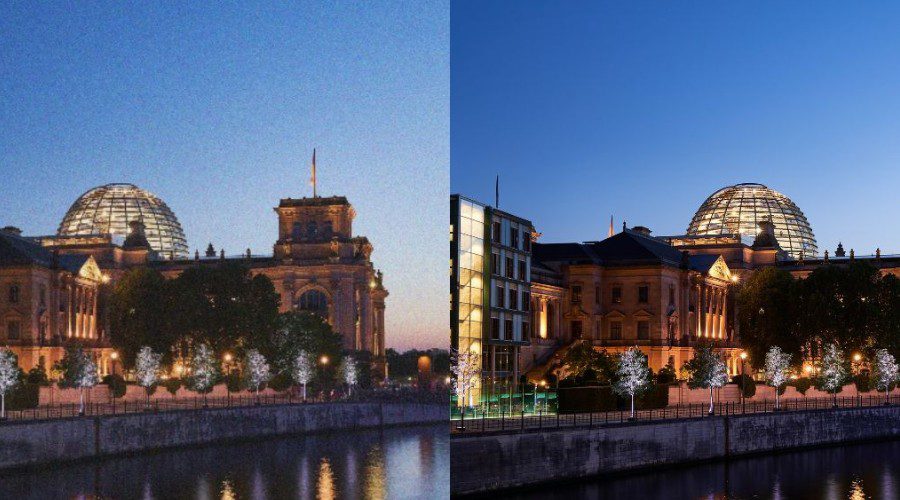
Most blurry photos will have some noise. This is especially true in low light situations. Using noise reduction tools can help improve the image. In Lightroom, you can balance smoothness and detail by adjusting Luminance and Color Noise Reduction. However, for best results, combine other tools.
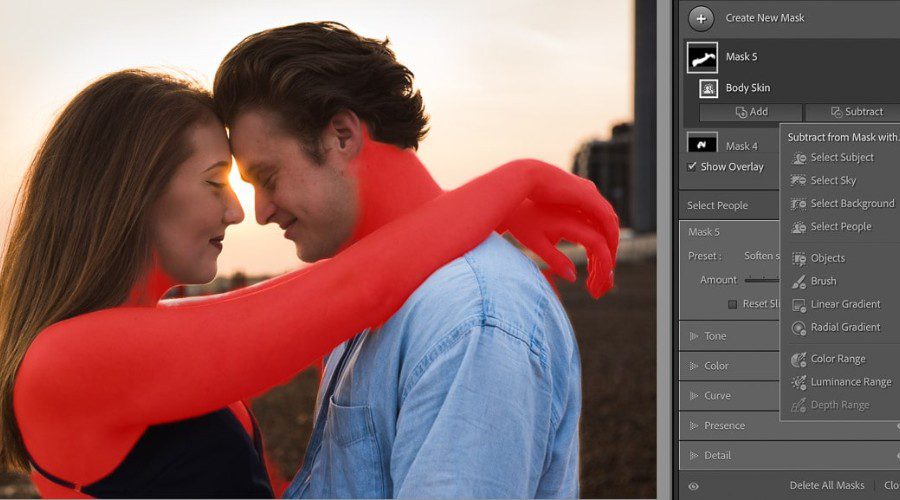
5. Masking or Brush
In some defective photos, instead of spending time adjusting the whole photo, you just need to fix the blurred point. The two features, masking and brush, will be effective tools to adjust the sharpness of the photo’s defects. Not only does this save time, but this tool also avoids disturbing the background or areas with little detail, thereby making the photo more natural.
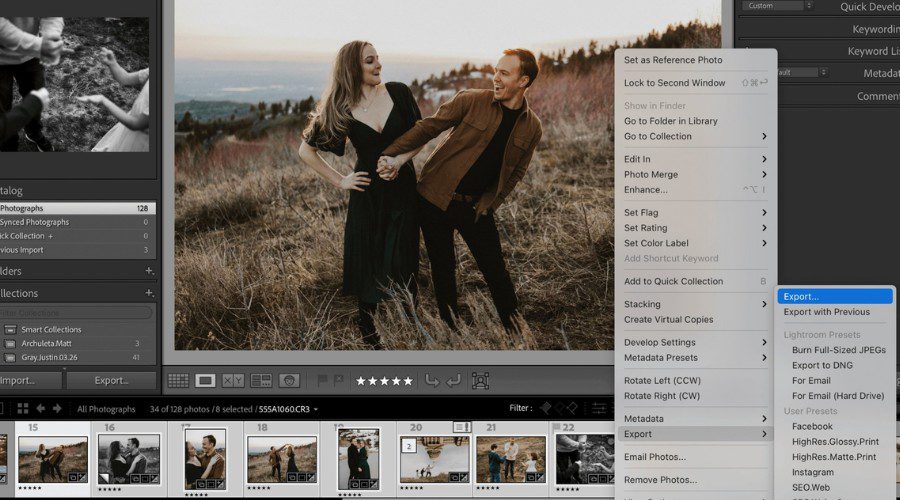
6. Sharpen when exporting images
Exporting your photos may seem simple, but it’s actually a great way to sharpen your photos. Once you’ve finished editing, choosing the right size when exporting your photos will help keep them sharp. This will help your photos retain their detail and quality, even when compressed or reduced for sharing on the web or social media.
Tips to Prevent Blurry Photos in the Future
The technique of retouching blurry photos should only be used when there are accidental flaws in the photo. Therefore, careful preparation during the photo shoot will help you save time retouching as well as limit the need to learn how to retouch blurry photos later. Here are some simple tips that you should know to help avoid taking blurry photos:
- Use support tools such as tripods: Support tools will help the camera not shake when taking photos, making the photo clearer and avoiding causing defects.
- Increase the shutter speed: When taking photos of moving objects such as animals, adjust the shutter speed quickly to limit the blurring of the photo.
- Focus accurately: Make sure to focus accurately on the subject you want to highlight. If you take portraits, you can use the autofocus feature for the best results.
- Take advantage of the light in the space: low light is a common factor that causes blurry photos. Choose a location with good lighting or use external lights.
- Take multiple shots in a row: If you are not sure you can capture a moment, take multiple shots in a row to increase the chance of capturing the sharpest frame.
The best photos always come from careful preparation before taking them. Instead of spending time retouching blurry photos in post-production, make this a habit to help you create quality photos right from the start.
Conclude
Hopefully, through the above sharing, you have grasped the important techniques in how to retouch blurry photos. However, proactive prevention and using the right support tools while shooting will always be the key factors that make the difference. If you want to improve your photo retouching skills, do not hesitate to explore more in-depth articles from the team of experts at DIGI-TEXX.
=> Read more:


