When you capture landscape photography, the camera can only capture the wonder of nature, but editing the picture is real. When you ask yourself how to edit landscape photos, it does not matter about brightness or colors alone.
Editing enables you to enhance the details, bring out the natural colors, and create depth for the landscape. With a good edit, your picture will be more realistic and engaging so people will believe that they are there.
Correct the Basics First
First of all, learning how to edit landscape photos begins with correcting the fundamentals. The better you know the fundamentals, the more natural and balanced your photo will look prior to doing the creative corrections.
Exposure & Dynamic Range: Begin by reviewing the exposure of your image. Landscape photographs will have a light sky and thick land, so balancing details between the two regions is difficult. Setting the highlights and shadows lower will allow you to even out the light so that it’s not too bright in the sky and too dark on the ground. It gives you a more naturalistic view of what the scene looks like.
Contrast & Clarity: Then, add contrast and clarity to animate your picture. Adding a touch of more contrast brings the image out by defining the light areas and dark areas, and clarity accentuates the tiny textures on rocks, trees, and clouds. These settings make your landscape more three-dimensional and rich.
Lens Corrections: Lastly, use lens corrections to correct common problems that occur with wide-angle lenses, commonly employed with landscape photography. Wide angles will distort the edges of your photo or make them curved, and chromatic aberration (colored fringes on objects) will also occur. Correcting them will render your photo more professional-looking and cleaner.
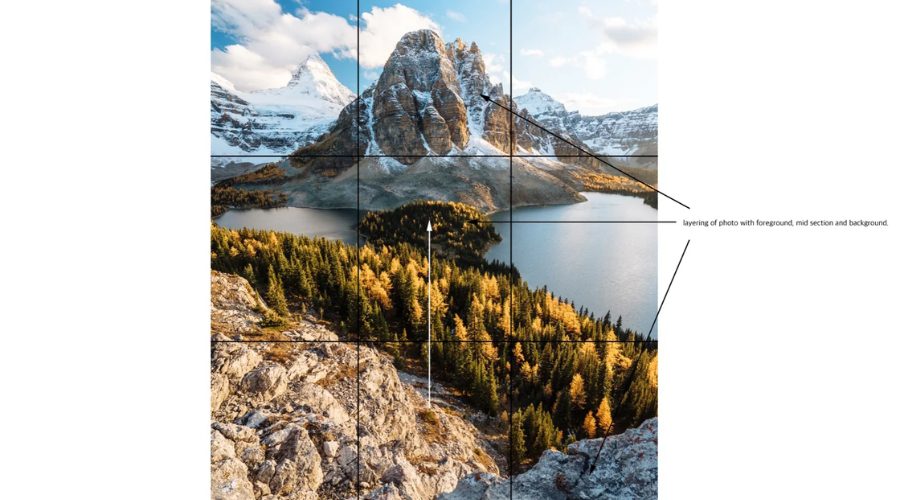
Learning how to edit landscape photos begins with correcting the fundamentals
Composition and Horizon Adjustment
As you are considering making an edit to a photo landscape, composition is one of the main ways of making your photo better. Fixing the horizon and enhancing composition is thus very important when learning how to edit landscape photos.
Straighten the Horizon Line: The first thing to check is the horizon line. If it is a sea, mountains, or fields, the horizon will always have to look straight. A sloping horizon will make your photograph look clumsy or unprofessional. Level it out in your editing software, so the scene appears natural and proportional.
Use Leading Lines: Leading lines are great landscape photography staples. Roads, rivers, or coastlines simply lead the viewer’s eye further into the image, and with it, an impression of travel and depth. When editing a photo landscape, you can highlight these lines by adjusting the contrast or brightness along them, so that the viewer becomes more engaged with the view.
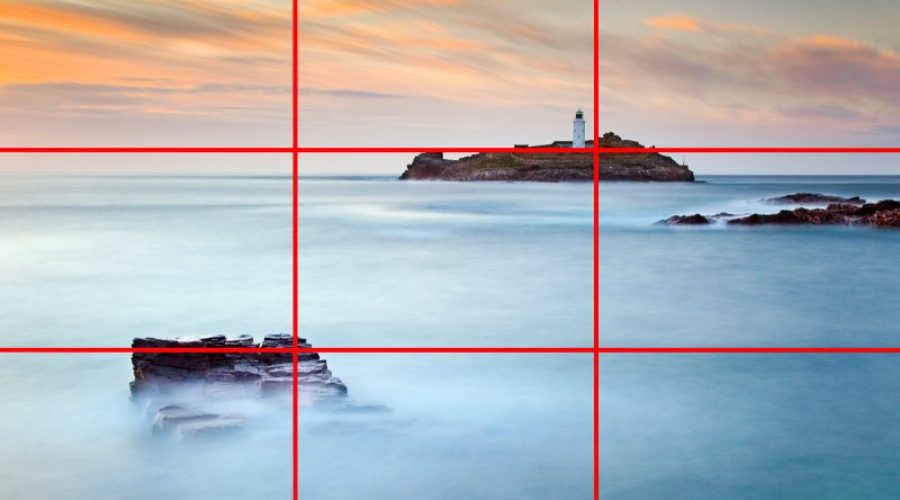
Composition is one of the main ways of making your photo better
Refine Colors for Natural Vibes
In landscape photography editing, the aim is to preserve the natural look of the colors but to beautify the scene.
White Balance: Begin by changing the white balance to suit the mood you desire. Warm tone is lovely for golden hour photography, producing a warm and soft look for the picture. Cool tones, however, suit misty or cloudy conditions, injecting a serene and moody atmosphere into the landscape.
HSL Adjustments: Hue, Saturation, and Luminance sliders are your saviors when it comes to landscape photo editing. They help you adjust individual colors without disturbing the whole image. You can darken the greens in leaves, the blues in the sky, or lighten the oranges in a sunset, and the image won’t look unnatural.
Vibrance & Saturation: Finally, apply vibrance and saturation to the entire color of the image. Vibrance picks up low colors softly without overdoing it, whereas saturation impacts all colors uniformly. Use them lightly as well, with too much saturation, the image becomes artificial. It’s all about finding that balance that unleashes natural beauty.
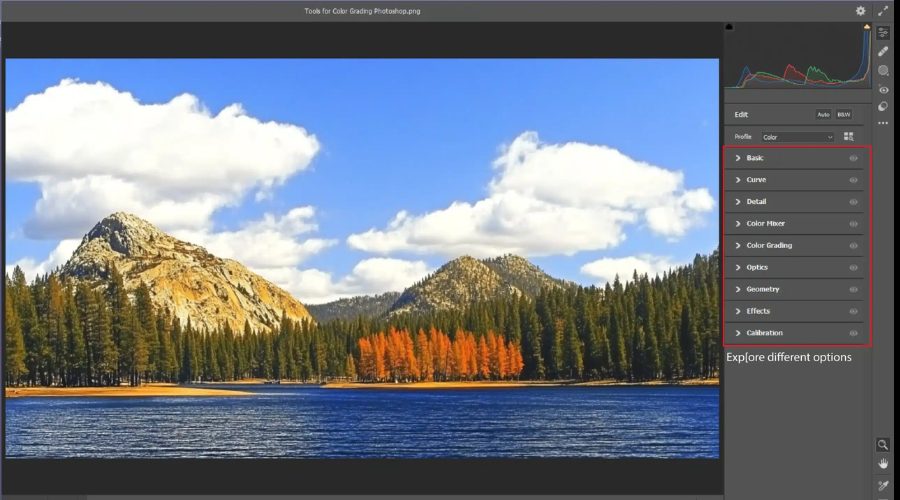
The aim is to preserve the natural look of the colors
Local Adjustments
When you’re learning how to edit landscape photos, local adjustments are where you’ll want to bring the most crucial things about your photo to the forefront. Local adjustments are an integral part of editing landscape photos, because it will naturally lead the viewer’s eye throughout the image.
Brush Tool: Accentuate or highlight notable features like a summit, falls, or trail using the brush tool. By highlighting these features, you add an aspect of focus without altering the overall topography considerably.
Radial Filter: Yet another great tool is the radial filter, which allows you to light a subject region without compromising the broad scene, well-balanced and natural. You can, for instance, add some soft light upon a body of water or cast some soft spotlight upon a cabin in the woods.
Dehaze: Last but not least, the dehaze slider is fantastic to give your landscapes some clarity. It dissipates atmospheric haze so your faraway mountains can appear sharper, or add some haze on top for a dreamy, moody feel. Used subtlety, dehaze can totally transform the mood of your picture.
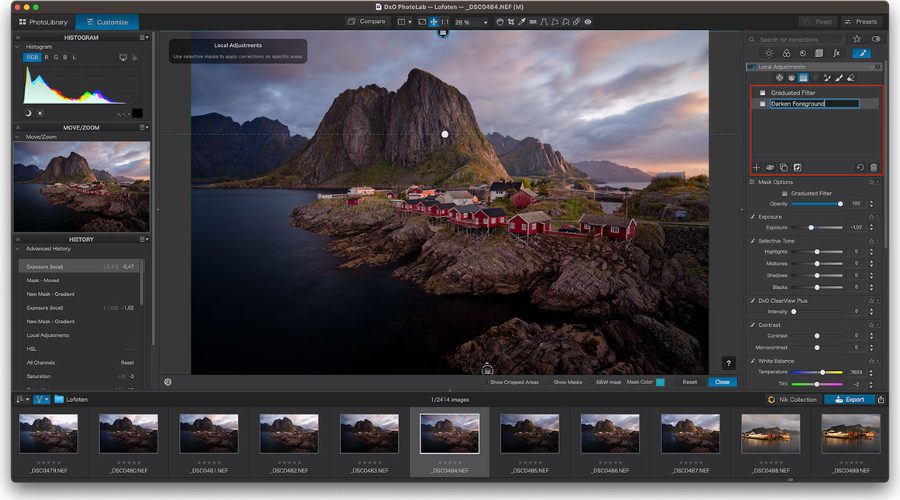
Local adjustments are where you’ll want to bring the most crucial things
Add Depth and Drama
Perhaps the most engaging process involved with learning how to edit landscape photos is the addition of depth and drama. Both of these techniques of landscape photo editing are utilized to shape the light, provide definition, and drive interest toward the most engaging aspects of your image.
Dodging & Burning: Use dodging (making light) and burning (making dark) to guide the viewer’s eye through the image. Lighten valleys or waves to move them forward, and darken hills or shadows subtly to move them back. This creates a three-dimensional effect that makes your landscape look more real.
Texture & Clarity: Texture and clarity controls can emphasize the intricate details of rocks, water waves, or distant leaves. These settings add depth without making the picture too harsh, and your photo will appear sharp and energetic.
Vignetting: End with a light vignette. Darkening the frame edges naturally draws the eye into the center—either the horizon line, the top of a mountain, or an important point of interest. It’s easy and effective to create drama and enhance the composition.
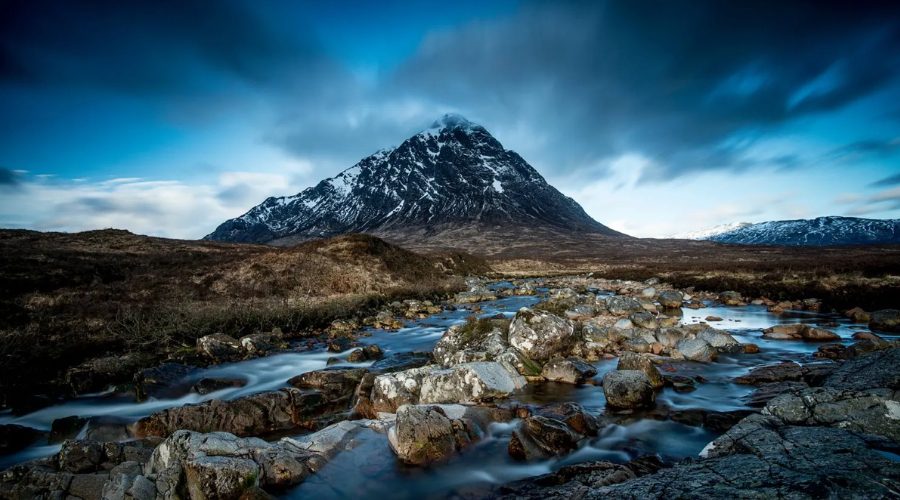
The most engaging process is the addition of depth and drama
Final Polish
The final task when you edit a photo landscape is to provide your photo with a clean, professional appearance. The finishing touches set your photo in position for sharing, whether printing or posting online.
Sharpening: Sharpen your photo to enhance tiny details such as leaves of trees, blades of grass, or far-off mountain peaks. It enhances the textures and provides a crisp finish for your photograph.
Noise Reduction: Where there have been low-light exposures or exposures taken with longer exposures, digital noise may be present, particularly in the sky. Ease noise using noise reduction filters to desensitize those areas without diminishing important details.
Cropping for Composition: Cropping is an easy yet effective method of enhancing composition. Utilize the rule of thirds, leading lines, or experiment with panoramic crops to enhance the dynamic quality and image appeal of the scene.
Export Settings: Lastly, set the proper export settings. Export high-res to print out, or make optimized files for web sharing so your photo remains sharp without being unnecessarily large in file size.
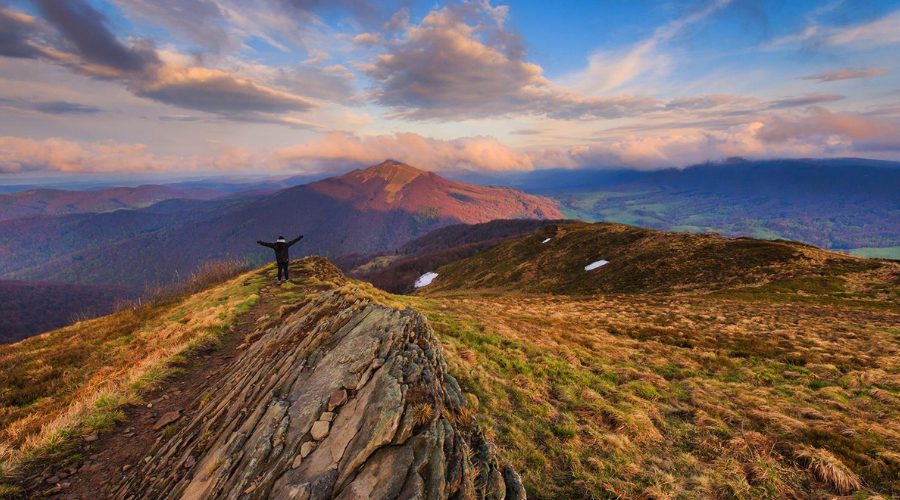
The final task is to provide your photo with a clean, professional appearance
Mastering how to edit landscape photos is all about finding the right balance between technical adjustments and creative choices. From correcting the basics to refining colors, applying local edits, and adding depth, every step helps transform a simple shot into a breathtaking image. With practice, you’ll develop your own editing style while keeping the natural beauty of the landscape intact.
If you require professional post-production and photo editing services, DIGI-TEXX is at your service. With years of experience and the latest editing tools, DIGI-TEXX provides world-class quality that saves you time while providing stunning output. Whether you are a photographer, business, or creative agency, DIGI-TEXX ensures your photos look professional, uniform, and ready to leave an impact.
=> Read more:


