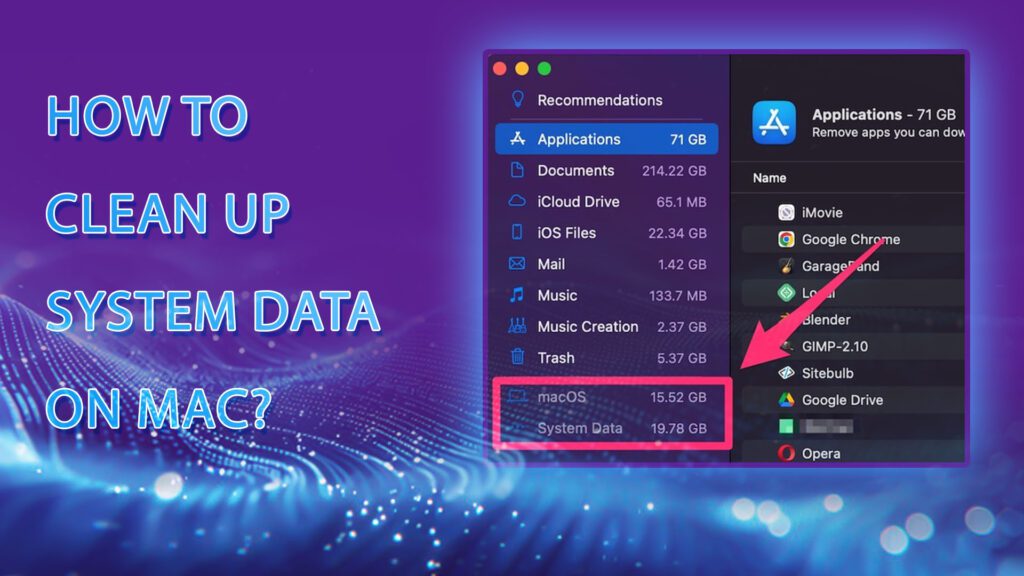
Is your Mac acting slow or running out of storage constantly? The most frequent offender is hidden behind-the-scenes system data, such as temp files, caches, logs, old backups, and residual app data that build up in the background and occupy space on your computer.
If you are wondering how to clean up system data on Mac without sacrificing important files, this tutorial from DIGI-TEXX will walk you through effective and risk-free methods to regain free space and boost the performance of your Mac.
Remove Time Machine Snapshots
One of the sneaky ways your Mac storage gets full is due to local snapshots that Time Machine makes. Everyone thinks Time Machine backs up to a different disk, but macOS puts each day’s snapshots onto your startup disk as well. They’re great for restoring deleted items or undoing mistaken changes—but they’ll always use precious space in the long run.
If you’re trying to figure out how to clean up system data on Mac, removing these local snapshots is a great place to start. The easiest method is to turn off Time Machine, which will instantly clear all stored snapshots. For more control, advanced users can also remove them manually using the Terminal.
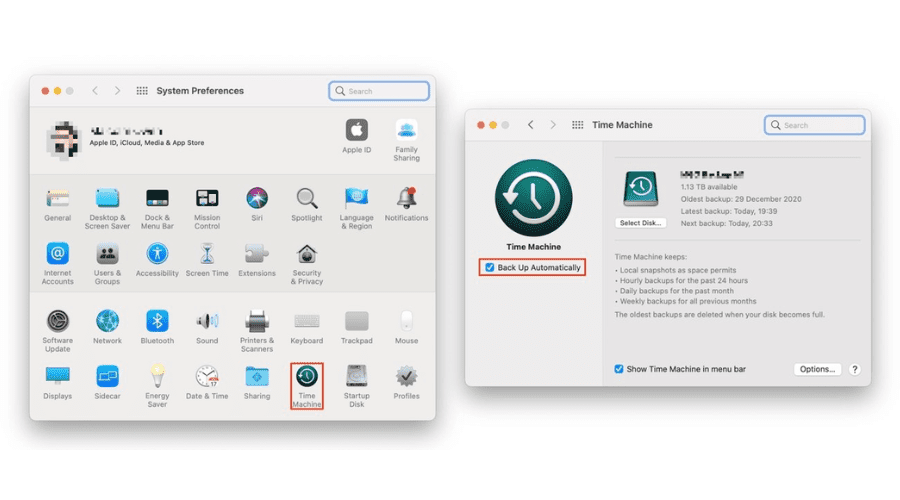
One of the sneaky ways your Mac storage gets full is due to local snapshots.
Delete Old iOS Backups Stored on Your Mac
Another sly Mac system space hogger might be backups of previous iPhones or iPads—particularly if you’ve been storing them locally rather than through iCloud. These are taking up residence and can consume a lot of space, and must be removed on a regular basis. If you’re using macOS Catalina or later, this is how to remove them:
- Open Finder
- Choose your iPhone from the sidebar
- Click Manage Backups
- Choose the unwanted backups
- Hit Delete Backup and agree
In case you’re on macOS Mojave or below, you have to use iTunes to delete old iPhone or iPad backups, as Finder wasn’t available until macOS Catalina. Here’s how you do it:
- Open iTunes
- Hit iTunes at the top-left corner and click on Preferences
- Go to Devices
- Checkmark the backups to delete
- Hit Delete Backup, then agree
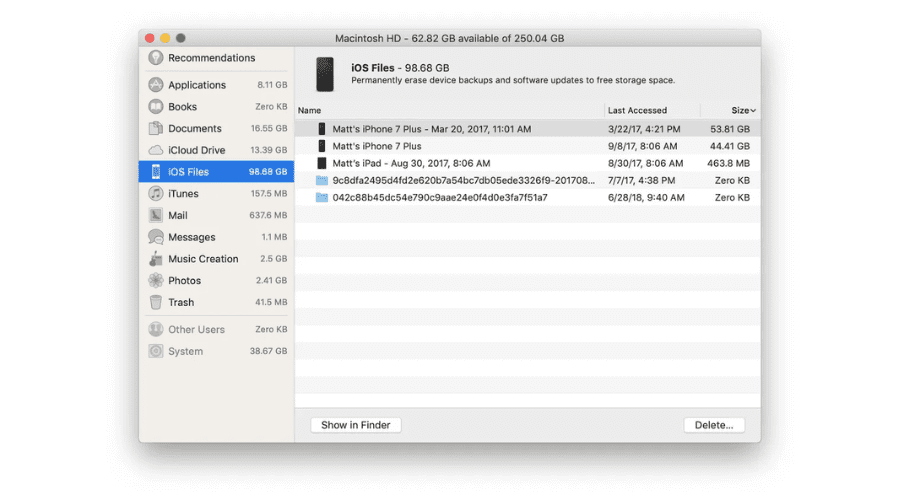
Another sly Mac system space hogger might be backups of previous iPhones
Clear System Logs and App Support Files
System and application log files, and residual support data, likewise contribute to excessive System Data storage. In order to remove them by hand, navigate to Finder → Go → Go to Folder, and then go to:
- ~/Library/Logs
- ~/Library/Application Support
- ~/Library/Caches
Look for directories with applications you’ve left behind, and erase the content (not the directories) carefully. These orphan files might take up a lot of space without any current use. Empty the Trash later always. This manual cleaning is one of the lesser-known but efficient methods of how to clean up system data on an AC without adding supplementary software.
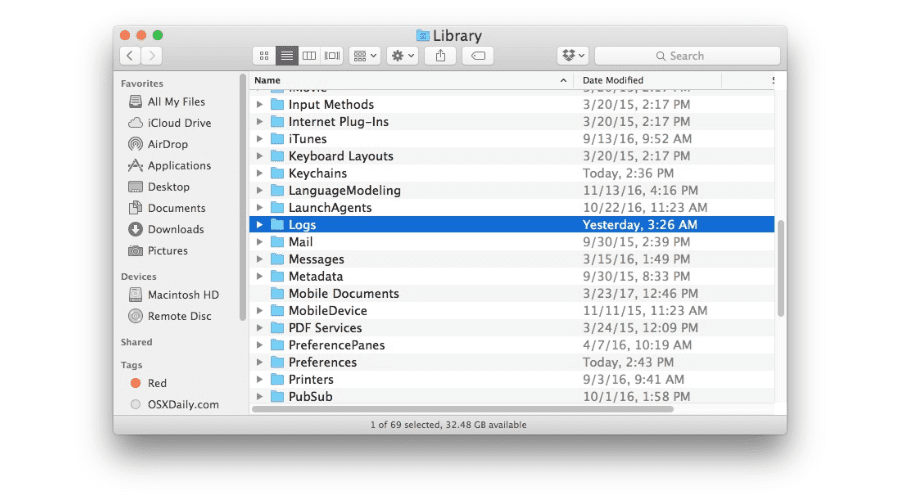
System and application contribute to excessive System Data storage
Delete Unused or Leftover System Extensions
Plugins and extensions of old systems can quietly be classified under System Data. To free up space, open Safari or some other web browser and delete unwanted plugins or extensions. It deletes invisible files that accumulate over time. App-level extensions will need to be manually deleted through Library folders.
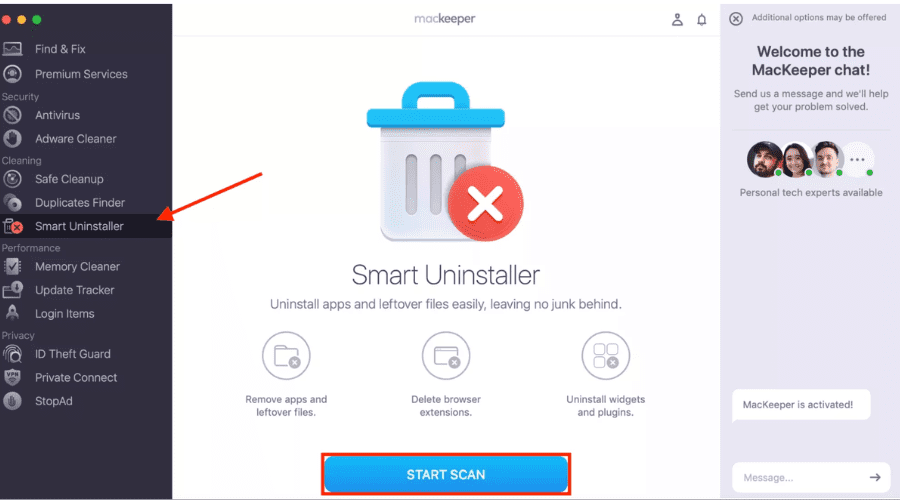
Plugins and extensions of old systems can quietly be classified under System Data.
Optimize Storage with Built-In macOS Tools
Apple’s storage manager offers good built-in tools to deal with disk usage:
- Apple menu > About This Mac > More Info > Storage Settings (Ventura and later), or Apple menu > About This Mac > Storage > Manage (Monterey and earlier).
- Turn on suggestions such as Store in iCloud, Optimize Storage, and Empty Trash Automatically.
These configurations assist in lowering purgeable and System Data storage efficiently without deleting files manually. Having the capability to scan and eliminate such residual files is a precious technique in how to clean system data on Mac, particularly when confronted with unfamiliar third-party utilities.
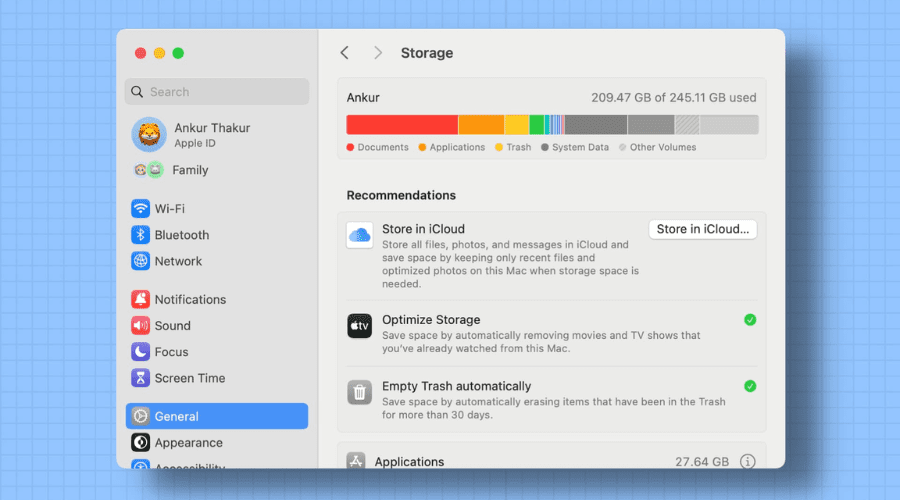
Apple’s storage manager offers good built-in tools to deal with disk usage
Use a Reliable Mac Cleaner App (Optional)
For automatically operating users, third-party tools such as CleanMyMac (by MacPaw), DaisyDisk, or MacCleaner Pro can remove system trash—logs, caches, language packs, and binary waste—without sacrificing important files. They most commonly offer graphical storage maps and instant cleanup. Although optional, they simplify the process of cleaning up system data on Mac. For more details on tools that can help clean your data quickly and efficiently, take a look at our guide to the best data cleansing tools.

Third-party tools such as CleanMyMac (by MacPaw), DaisyDisk, or MacCleaner Pro can remove system trash.
Restart Your Mac and Check System Data Again
Once cleaning activities are finished, a straightforward Mac restart may cause macOS to purge temporary files, caches, and reset storage totals. Rebooted, go to About This Mac > Storage Settings and check that the System Data usage went down. In most instances, free space under the System Data category will considerably reduce after a reboot.
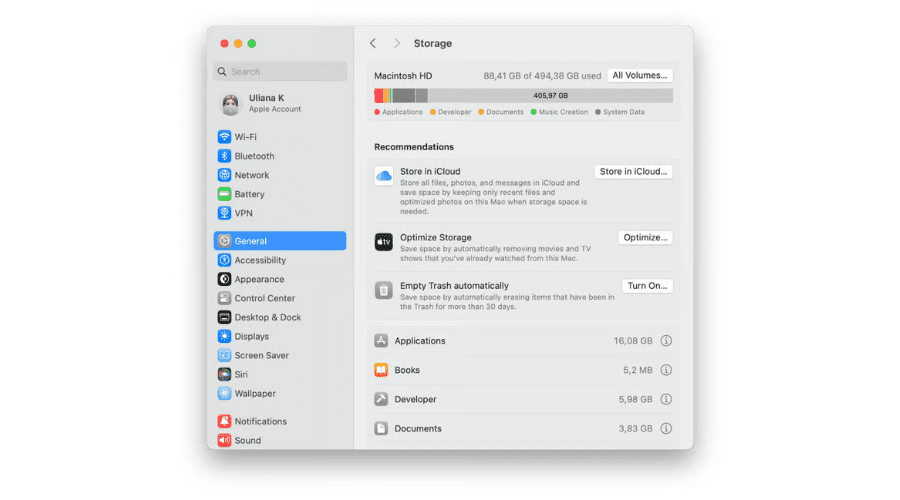
A straightforward Mac restart may cause macOS to purge the buildup of temporary files.
Freeing up space on your Mac doesn’t have to be a daunting task. By following the steps outlined above — from clearing system logs and unused extensions to using macOS’s built-in tools or trusted cleaning apps — you can take full control of your storage. Whether you’re a casual user or a power user, understanding how to clean up system data on a Mac ensures your device runs smoothly and efficiently. Additionally, you can also check out our guide on how to clean up data if you’re dealing with messy or disorganized datasets
If you’re managing digital infrastructure or large-scale system performance and want expert-level data handling, automation, or storage optimization at scale, consider exploring solutions from DIGI-TEXX. As a leading provider in digital transformation and data services, DIGI-TEXX offers tailored services to help enterprises keep their systems optimized, secure, and future-ready.
=> Read more:


