Editing food photos is one of the most important steps to creating attractive and professional photos. Whether you are a food blogger, a restaurant owner, or simply a food photography enthusiast, mastering editing techniques will help your dishes look more delicious and vivid.
In this article, DIGI-TEXX team will guide you in detail on how to edit food photos in Lightroom, turning raw photos into attractive works of art.
If you’re just getting started, check out this guide on how to edit in Lightroom.
Step 1: Crop and Straighten to Highlight the Dish
The first and most important step in the process of editing food photos is cropping and straightening. A good composition will highlight the dish and direct the viewer’s attention. You should use the Crop tool to remove unnecessary details, making the photo neat and focusing on the main subject.
A balanced composition not only increases the aesthetics but also helps the viewer easily focus on the dish. Also, use the Straighten tool in Lightroom to make sure edges like tables, plates, or horizons are straight. This will give your photo a clean, professional look.
Step 2: Correct Lens Distortion for Food Photography
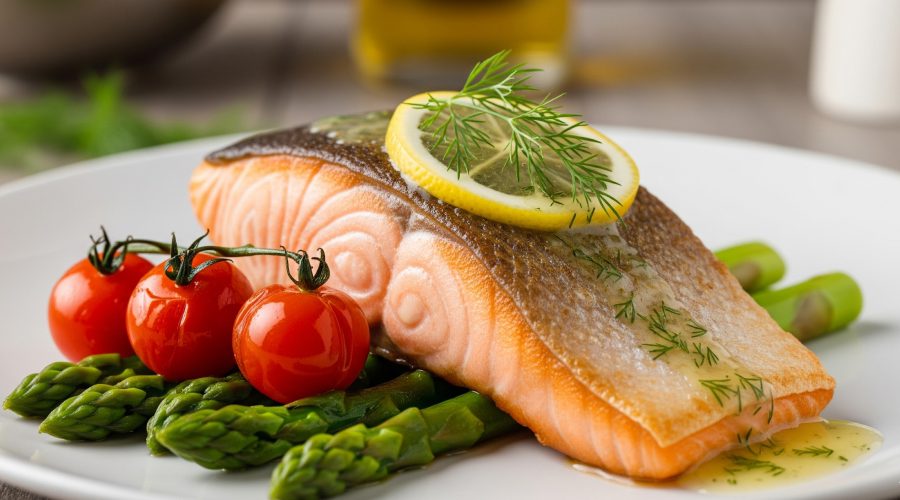
Camera lenses tend to distort images, especially at the corners, causing chromatic aberration and distortion. In Lightroom, you can easily fix this. Go to Lens Corrections and enable Remove Chromatic Aberration and Enable Profile Corrections. This will remove unwanted color fringing and correct lens distortion, making your photo look more natural and accurate.

Step 3: Set White Balance for Natural and Appetizing Colors
White Balance is the factor that determines the overall color of your photo. A correct white balance setting will help your food look realistic and appealing. Depending on the light source (natural, flash, or indoor), you can adjust the Temp and Tint bars to create the right color tone.
Adjust the temperature to create a warm, fresh feel to the dish, or adjust the tint to remove unwanted colors, making the dish’s color look more natural.
Step 4: Adjust Exposure and Contrast to Enhance Food Texture
Exposure and Contrast are two important tools to highlight the texture of the dish:
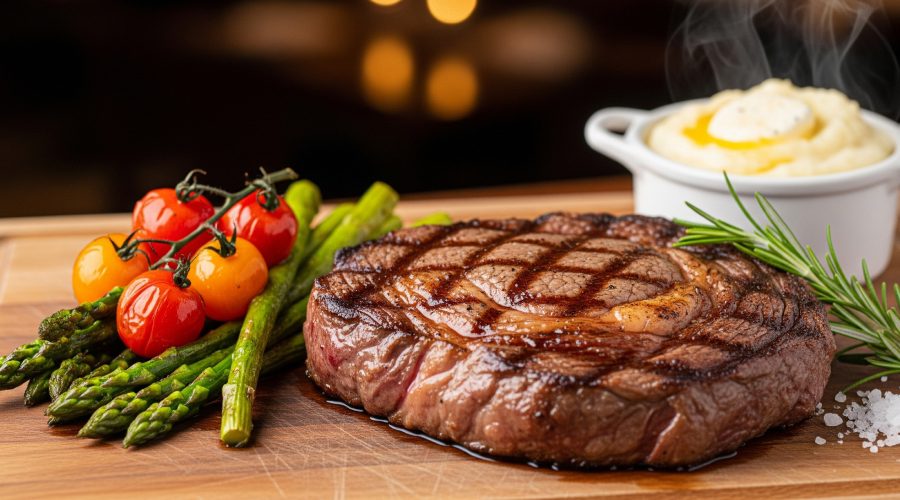
- Increasing the Exposure slightly to brighten the photo, making the dish look fresher and more vibrant.
- Increasing the Contrast will clarify the difference between the light and dark areas, highlighting details and textures such as the crispness of the crust, the softness of the cream, or the shine of the sauce.
Step 5: Boost Freshness with Clarity, Vibrance, and Saturation
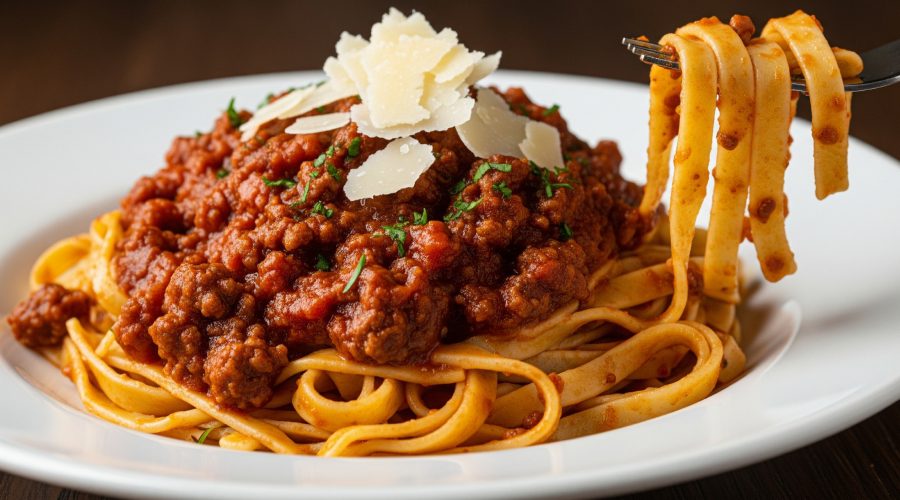
- Clarity: Increasing Clarity will bring out the edges and fine details, making the dish look sharper and more detailed. However, you should adjust it moderately to avoid making the photo look too harsh or unnatural.
- Vibrance and Saturation: Use to enhance the colors of the dish. Vibrance will enhance the colors of the light tones in a subtle way, while Saturation will enhance all colors. For the most natural results, you should prioritize using Vibrance to avoid over-saturating the colors and losing their realistic look.
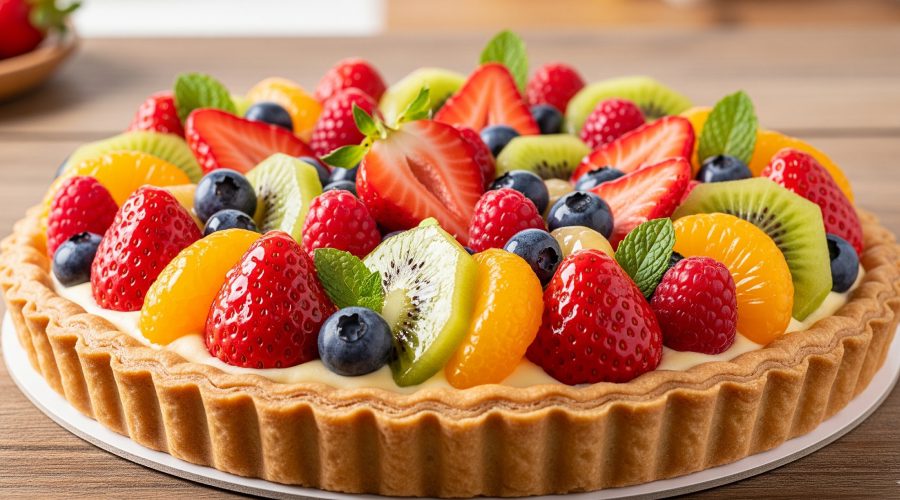
Step 6: Use the Tone Curve for Depth and Dimension in Food Shots
The Tone Curve is a powerful tool that can help you adjust light and color in detail, creating depth and space for your photo. By creating an S-shaped curve, you can increase contrast, highlight bright areas and darken dark areas, making your food stand out against the background of the photo.
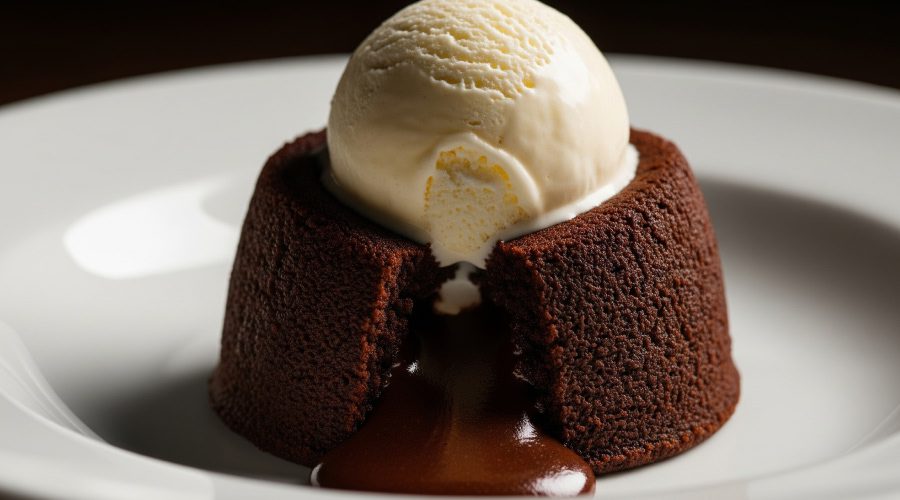
Step 7: Improve food color with the HSL Panel
The HSL (Hue, Saturation, Luminance) panel will help you adjust each individual color in your photo precisely. For example, you can make the red of meat look more vibrant or the green of vegetables look fresher. This is one of the most powerful photo editing tools for highlighting ingredients in a dish.
- Hue: Change the shade of a color (for example, turn red strawberries into pink).
- Saturation: Increase or decrease the saturation of a particular color. This index helps the color you want to focus on more clearly
- Luminance: Adjust the brightness of a color. Use this tool to brighten the color you want.
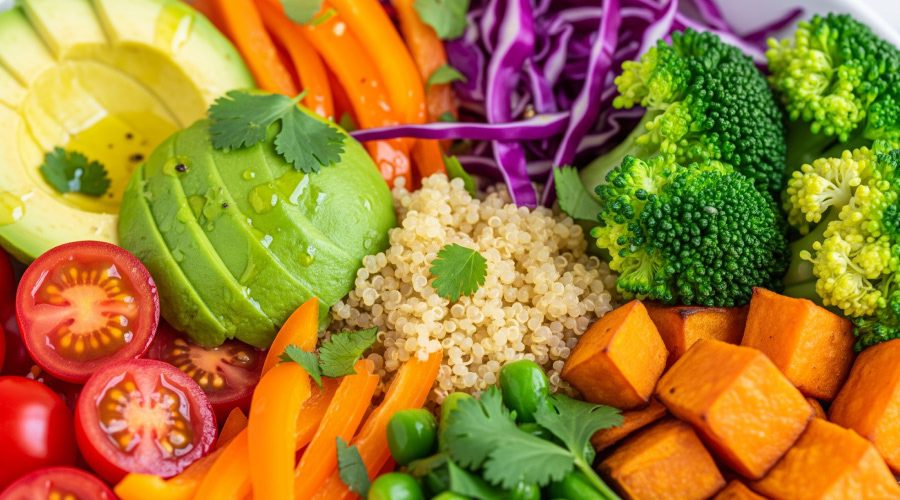
Step 8: Reduce noise without losing food details
When shooting in low light conditions or using high ISO, photos often have noise due to tiny color particles appearing. In Lightroom, you can use the Noise Reduction item to smooth out the noise, making the photo look cleaner. Note, adjust to a moderate level so as not to lose important details and textures of the dish.
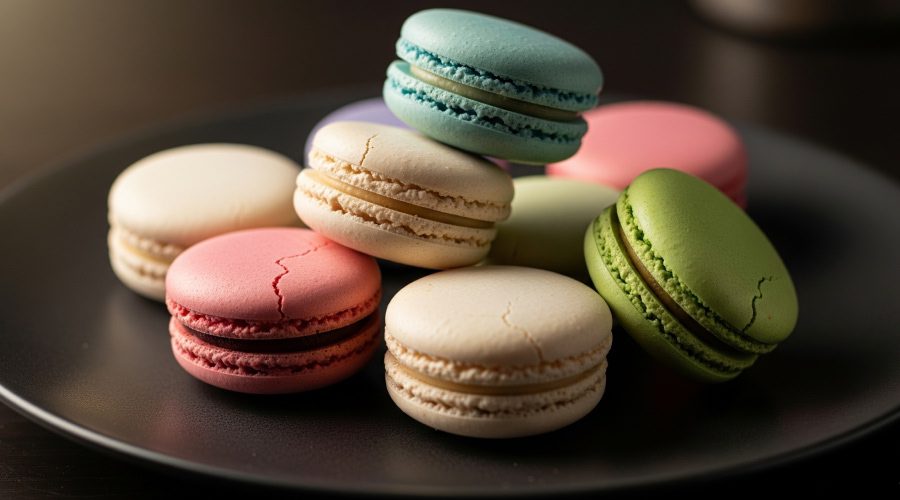
Step 9: Add emotion with Vignetting or Dehaze to the food space
- Vignetting (Edge effect): Adding a little Vignetting will darken the corners of the photo, directing the viewer’s attention to the center of the photo, which is the dish, creating a romantic and focused feeling.
- Dehaze: Dehaze, on the other hand, reduces haze, increasing clarity and contrast in the photo. You can use this tool to sharpen the photo and bring out fine details.
Step 10: Sharpen to Bring Out Food Textures
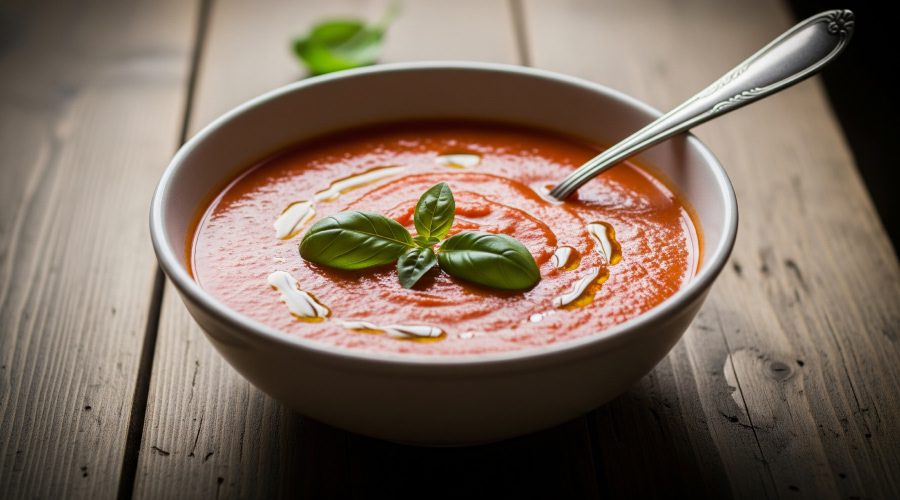
This is the final and finishing step to ensure your photo is as sharp as possible. The Sharpening tool helps bring out fine lines and details in your food, from the glistening salt grains on the surface to the firm textures of the meat. To use it effectively, you need to adjust the Amount, Radius, Detail and Masking sliders.
- Amount: Determines the overall sharpness.
- Radius: Controls the range of the sharpening effect.
- Detail: Allows you to sharpen fine details.
- Masking: This is a particularly useful tool, allowing you to sharpen only areas with clear details without increasing noise in smooth areas (such as the background).
By carefully adjusting these parameters, you will make the texture of the dish more vivid, clear and attractive without making the photo look fake or noisy.
Conclusion
With the above steps, you can confidently edit your food photos to have truly beautiful and attractive photos. If you need to process many photos or do not have time, consider using a professional photo processing service. DIGI-TEXX provides high-quality photo editing services, helping you to have the most beautiful and impressive photos. Contact us today for advice and support so you can have the best photos.
=> See more:


