Edit photos in Lightroom can feel overwhelming at first, especially for beginners who are searching for the best photo editing app to improve their images. However, once you understand its structured workflow, Lightroom becomes a powerful tool for transforming photos in a consistent and professional way. From basic color correction to advanced adjustments, it can support a wide range of editing needs, including portrait enhancement with skin retouching, product-focused work such as jewelry photo editing service, and even automotive visuals like car photo editing.
Beyond technical adjustments, Lightroom also allows you to explore creative directions such as how to make photos look like film, enhance personal memories through birthday editing, or restore old images using restore damaged photographs techniques.
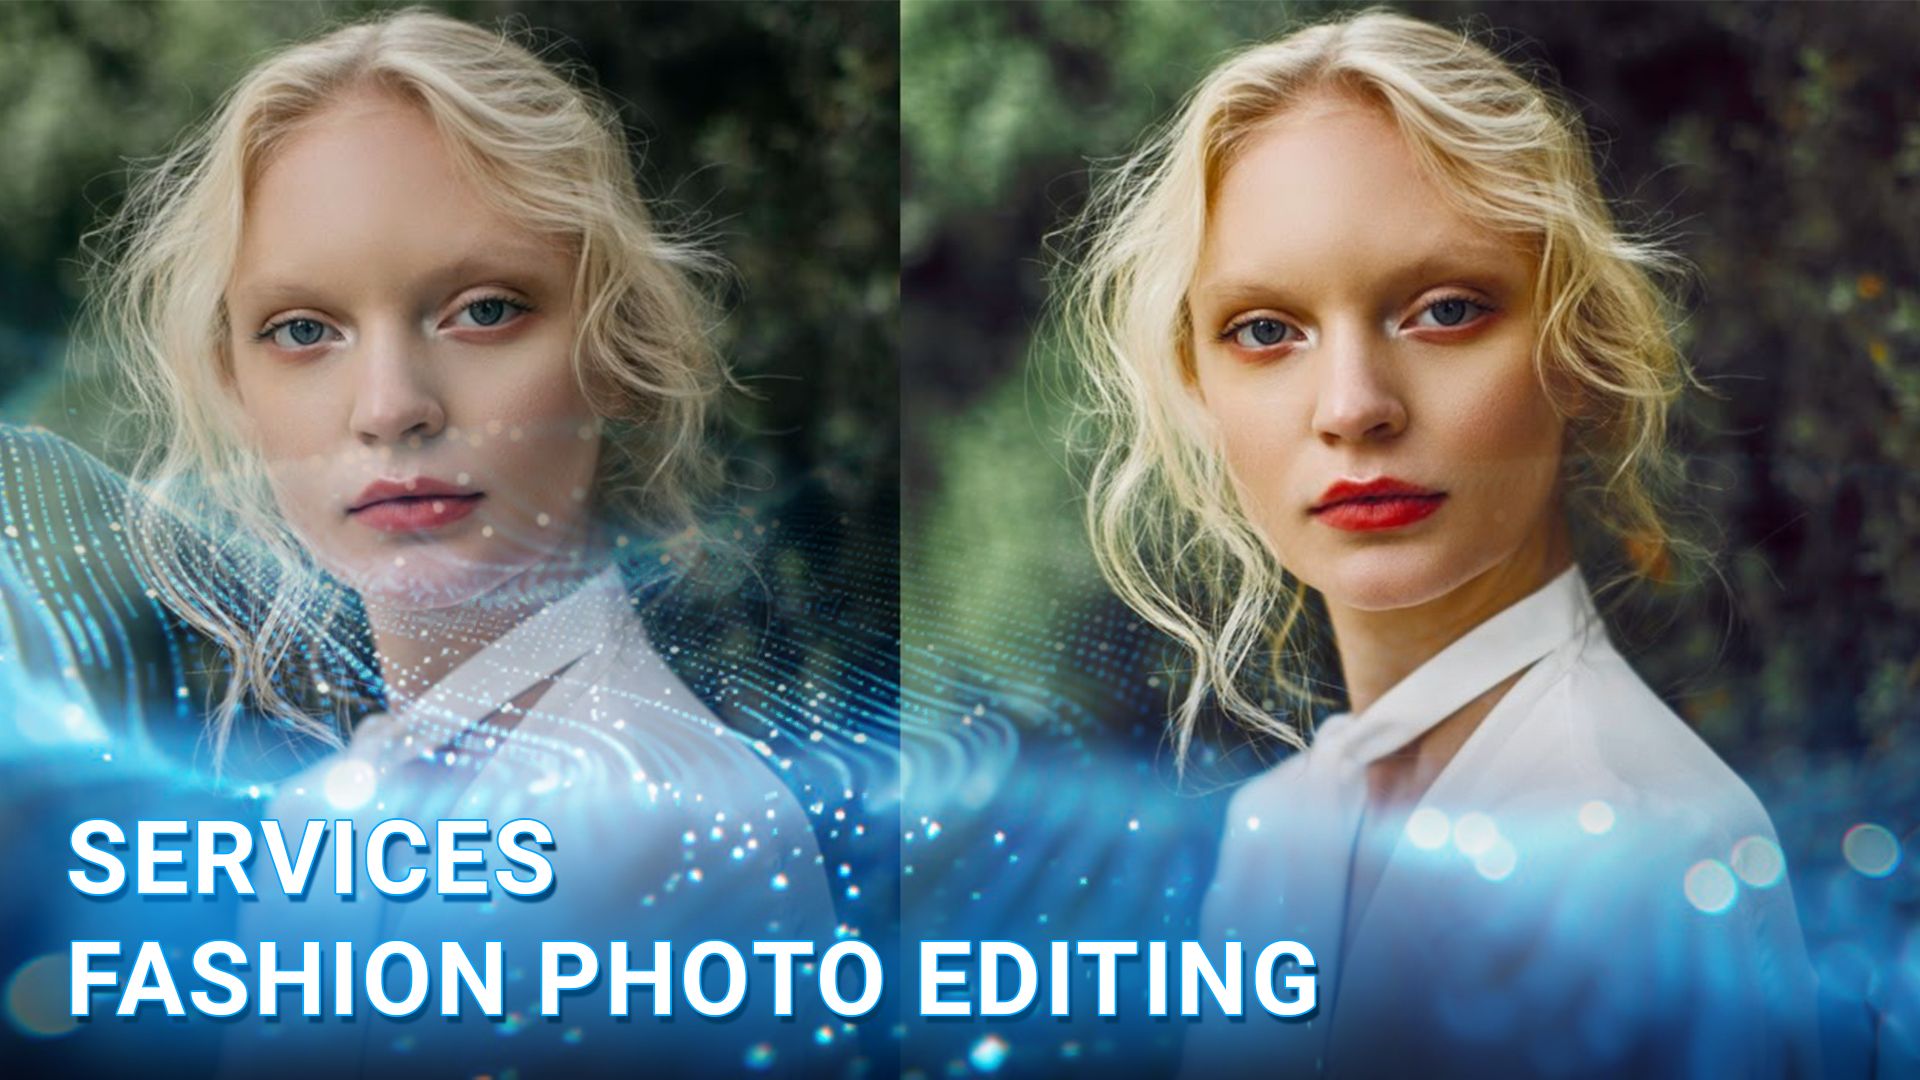
In this article, DIGI-TEXX will guide you through a practical Lightroom workflow, helping you improve editing efficiency and achieve consistent, high-quality results from start to finish.
=> See more: Best Photo Editing App to Enhance Your Photos Easily

How To Edit Photos In Lightroom: Step-by-Step Guide For Beginners?
It may appear to be a challenge to learn editing in Lightroom at first, but dividing it into easy steps makes it easier to learn. From the step of importing your photos to creative editing, Lightroom contains everything you need to turn your images upside down. Let’s go through all the steps of the editing process one by one.
Import & Organize Photos
One needs to bring their images into Lightroom and organize them in advance before beginning to edit them. The Import tool can be used to import images from your memory card, camera, or hard drive directly. Imported images can be organized in Collections per theme, event, or project.
To keep track of things, use the rating feature of Lightroom. Starring or flagging your best shots is the key to locating shots you would like to work on. You can also use keywords for shots so you can locate and filter them later, which is helpful when you have many photos saved.

Basic Adjustments
After organizing, the next step is to make your images look natural and balanced. Lightroom’s Basic Adjustments panel is where you’ll correct lighting and color. Start with Exposure to fix brightness, and then use White Balance to remove any unwanted color cast, ensuring skin tones and natural colors look accurate.
Then, adjust Contrast to create depth and dimension in your image. Then, edit Highlights and Shadows—dragging highlights down brings detail back into overexposed regions, and dragging shadows up reveals details in dark regions of your image.

“White balance and exposure are the foundation of every image, because they define how light and color are interpreted before any creative adjustments are made in post-processing.” — Steve McCurry (photographer)
Color Editing with HSL
When you’re ready to make final color adjustments, the HSL panel (Hue, Saturation, Luminance) is under your control with accuracy. Hue allows you to push colors towards different tones, for example, nudging greens yellow- or blue-toned.
Saturation allows you to adjust how sharp or dull each color is, and Luminance shifts the brightness of some colors. The HSL tool comes in very useful in portraits to cancel out redness in skin, or in landscapes to enhance skies and foliage without affecting the image as a whole.

Detail Enhancements
Once colors and tones are balanced, it’s time to sharpen your image with detail enhancements. The Sharpening tool sharpens your photo, but don’t overdo it so that it gives your photo a hard look.
Finally, use Noise Reduction to smooth out grain in photos shot indoors with low light. Lightroom also includes Lens Corrections, which automatically perform distortion, chromatic aberration, and unwanted vignetting from the lens. These small adjustments provide your final image crisp and professional.

Creative Edits
The technical fixes are done, and you can then proceed to the best part: creative editing. The Tone Curve gives you more control over contrast and can create everything from soft, airy tones to high-contrast effects.
Experiment with Split Toning (or Color Grading in later versions of Lightroom) to introduce color into highlights and shadows and establish cinematic or atmospheric tone. Superimpose a Vignette on top to darken the periphery of your image in order to naturally draw the viewer’s eye toward the subject.

Export Settings
The last phase in the editing process is how to export your image properly. Lightroom allows you to select from file formats such as JPEG when you’re sharing online or TIFF for high-quality outputs.
You must also choose the appropriate resolution and quality based on the intended use of your image. Social media photos, for instance, may be exported with lower file sizes, but print photos need to be high resolution. Lastly, utilize a simple naming convention and specify an appropriate folder destination so your edited final result is convenient and easy to share.

Lightroom AI Editing Techniques
Lightroom has introduced robust AI capabilities that simplify editing, speed up the process, and enhance creativity. No matter your proficiency as a beginner or professional, these features save time and deliver beautiful results. Below are the most noteworthy AI methods that can revolutionize how you edit in Lightroom:
- AI Masking & Select Subject: AI in Lightroom can identify subjects, skies, backgrounds, and facial hair or clothing instantly, and that allows them to isolate regions more quickly for finer tweaking. This intelligent masking feature aids photographers in quicker and more accurate editing inside Lightroom.
- AI Denoise & Enhance: Lightroom’s AI Denoise reduces noise from RAW images without compromising detail, and also includes Super Resolution for even sharper images. These are a must if you’re in Lightroom cleaning up low-light or high-ISO images.
- Adaptive Presets & Profiles: AI presets implement localized modifications to a defined region, such as skin, eyes, or apparel, in a single click. New users can easily edit in Lightroom and yet produce professional-standard output using adaptive presets.
- Generative AI Features: The new Generative Remove feature, powered by Adobe Firefly, allows users to remove unwanted objects and seamlessly reconstruct the background with a single click. This is a powerful advancement in creative editing and significantly reduces the time needed for traditional retouching tasks. It also connects with modern workflows such as image processing for virtual try-on AI models, where AI is used to simulate clothing and product fitting on subjects for commercial and e-commerce visuals.

Tips For Efficient Lightroom Editing
Before we get into the nitty-gritty of adjustments, it is useful to learn some working tips that will make your process efficient and allow you to edit in Lightroom more quickly. Here are a few tips to save time to maintain your edits’ cohesion:
- Utilize Keyboard Shortcuts: Learning and implementing Lightroom’s shortcuts will save a lot of time spent on editing. Simple operations like switching between modules, flagging or marking shots, or copying settings become less laborious when editing in Lightroom using fewer mouse clicks.
- Sync Settings Across Multiple Photos: If you’re working with a series of images shot in the same environment, use the “Sync” function to apply edits across multiple files, which keeps your adjustments consistent and speeds up your workflow.
- Use Presets to Make Rapid Edits: Presets are a great method of establishing a consistent appearance. Don’t begin anew, but rather work from a preset and then adjust details. It’s one of the quickest methods of Lightroom editing, particularly when using batch editing.
- Use Smart Previews for Improved Speed: Smart Previews editing enables Lightroom to function optimally even with large RAW files. Smart Previews will enable you to edit in Lightroom fast without any slowing due to heavy data.
- Organize With Collections and Keywords: Organization of your catalog using collections, keywords, and ratings makes it easy to locate the images later, which makes the whole process of editing in Lightroom a breeze.

Common Lightroom Editing Mistakes To Avoid
When you edit photos in Lightroom, avoiding these common mistakes will help you achieve more professional results:
- Over-editing with extreme sliders: Pushing Clarity, Saturation, Texture, or Shadows too far can make images look unnatural, with harsh skin tones and unrealistic colors. Keep adjustments subtle for a more natural finish.
- Skipping basic exposure and white balance corrections: Jumping straight into color grading without fixing exposure and white balance often leads to inconsistent tones. Always build a clean foundation first in the Basic panel.
- Using only global adjustments: Applying the same edits to the entire image can flatten your photo. Instead, use Lightroom Masking tools to selectively adjust subjects, backgrounds, or specific areas.
- Over-sharpening images: Excessive sharpening can create halos, noise, and artificial edges. Always zoom to 100% and apply sharpening carefully, using masking to protect smooth areas.
- Poor file management outside Lightroom: Renaming or moving files outside the Lightroom catalog can break links and cause missing images. Always manage files directly within Lightroom to keep your workflow stable.
FAQs About Edit Photos In Lightroom
Why Can’t I Edit Photos In Lightroom?
If Lightroom won’t let you edit a photo, several common issues could be causing the problem:
- The original photo file has been moved, renamed, or deleted, so Lightroom can no longer locate it.
- The image is stored on an external drive that is disconnected or unavailable.
- The photo is still syncing with the cloud and has not fully uploaded or downloaded.
- The file or folder is set to read-only, preventing Lightroom from making changes.
- You are viewing the image in the wrong module instead of the Develop module.
- Your Adobe subscription has expired or is no longer active.
Checking file availability, sync status, permissions, and account settings will usually help restore Lightroom’s editing features.
How Do I Edit A New Set Of Photos In Lightroom?
To edit a new set of photos in Lightroom:
- Open the Library module and switch to Grid View.
- Select the photos you want to edit.
- Go to the Quick Develop panel.
- Choose a preset or apply the adjustments you want.
- Lightroom will automatically apply those edits to all selected photos.
This is a quick way to edit multiple images at once and keep a consistent look across your photo collection.
Is It Better To Edit Pictures In Lightroom Or Photoshop?
Lightroom is generally the better option for organizing photos and handling everyday edits such as color correction, exposure adjustments, and batch processing. Photoshop is more suitable for advanced tasks like layer-based editing, photo compositing, object removal, and detailed retouching. Many photographers use Lightroom for most of their workflow and switch to Photoshop only when more complex edits are required.
Mastery of these in-camera techniques is the secret to speeding up and streamlining your workflow. By embedding shortcuts, presets, and intelligent catalog management, you’ll edit in Lightroom more consistently and with less stress. The more you use it, the second nature your editing becomes, so you’re free to channel your energy toward creativity rather than drudgery.
If you’re looking for professional photo editing services beyond your workflow, DIGI-TEXX can be your trusted partner. With advanced technology and a team of skilled editors, DIGI-TEXX delivers high-quality, consistent results tailored to your needs. Whether it’s large-scale image processing or customized editing solutions, DIGI-TEXX ensures efficiency and reliability at every step.
DIGI-TEXX Contact Information:
🌐 Website: https://digi-texx.com/
📞 Hotline: +84 28 3715 5325
✉️ Email: [email protected]
🏢 Address:
- Headquarters: Anna Building, QTSC, Trung My Tay Ward
- Office 1: German House, 33 Le Duan, Saigon Ward
- Office 2: DIGI-TEXX Building, 477-479 An Duong Vuong, Binh Phu Ward
- Office 3: Innovation Solution Center, ISC Hau Giang, 198 19 Thang 8 street, Vi Tan Ward
Reference:
- Maryland Institute College of Art. (n.d.). Photography and digital imaging programs. https://www.mica.edu
- Rochester Institute of Technology, School of Photographic Arts and Sciences. (n.d.). Photography BFA program and curriculum. https://www.rit.edu/photography