Portrait photo editing is always an interesting task for most people. When you have specific knowledge, you can proactively create outstanding portraits to put in your portfolio or simply want to have a unique photo to post on social networks. In this article, DIGI-TEXX will provide you with a comprehensive guide, exploring popular portrait photo editing techniques, from color correction to skin smoothing, and also a list of the best free tools.
Common Portrait Photo Editing Techniques
Applying portrait photo editing effectively will turn a beautiful photo into an engaging work of art. To do this, you must refine and enhance your portraits until they achieve a professional and perfect effect. The tasks can range from simple adjustments, such as exposure and contrast, to more advanced techniques, including detail editing and AI-suggested image enhancements. These edits will work together to refine the final image while preserving the natural appearance of the subject in the photo. The goal is to make the subject look their best while directing the viewer’s attention and telling a story through visual effects.
Color Correction
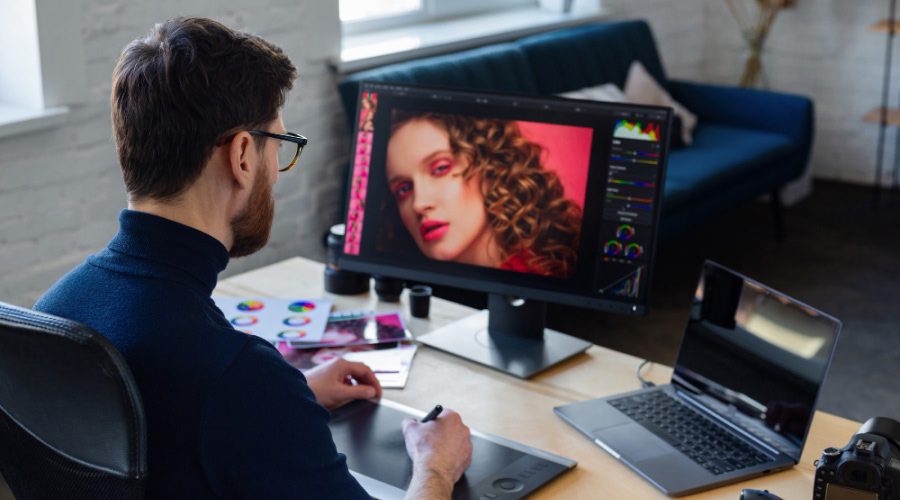
Color correction is a fundamental step in portrait photo editing. It involves adjusting the overall color balance of an image to ensure the scene looks natural and appealing. This process corrects white balance issues, ensuring that white areas appear pure white and not yellow or blue. The color correction step also includes fine-tuning exposure, contrast, highlights, and shadows. Correct color correction sets the stage for all other edits that follow. It ensures accurate skin tones, and the overall mood of the photo is captured as intended. This is a core skill (Root Attribute) for any photo retouched.
Skin Smoothing and Blemish Removal
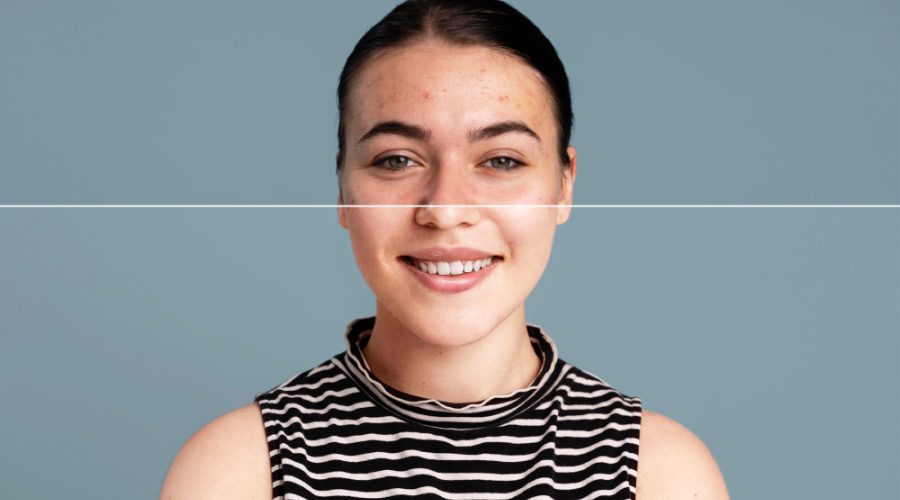
This step focuses on creating flawless yet natural-looking skin for your subject. This involves removing temporary blemishes like pimples, scars, and baby hairs, and smoothing the skin. Experts often use advanced methods like frequency separation (Rare Attribute). This technique helps them smooth out skin tones and textures without losing natural pore detail, avoiding an overly ‘plastic’ look. The key to successful and good photo editing for portraits is to enhance the subject’s existing features, rather than removing them.
Sharpening and Blurring
Intentional sharpening and blurring will direct the viewer’s eye as they move through the photo. Sharpening will be used on key features, most importantly the eyes, to make them stand out and create a sense of connection with the viewer. Conversely, blurring, or creating a depth of field (bokeh), can be used in the background. This technique helps separate the subject from its surroundings, making it the unmistakable focal point of the photo and thus adding a very professional & artistic effect.
Eye Enhancement
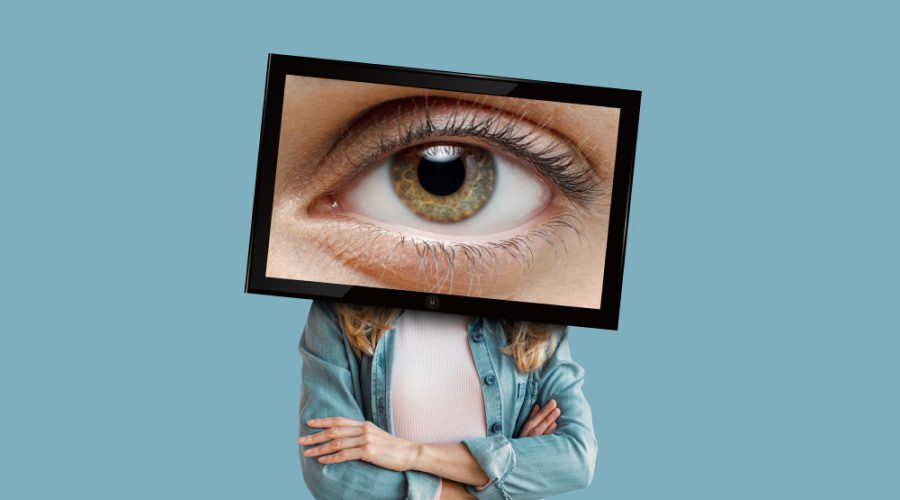
The eyes are the windows to the soul, and enhancing them is an important part of portrait photo editing. Eye enhancement process goes beyond simply sharpening the subject’s eyes, including brightening the whites of the eyes, enhancing the color and detail of the iris, and adding a subtle ‘reflectivity’ to make the eyes appear more alive and vibrant.
Makeup Retouching
Makeup retouching is the digital application of techniques to enhance or correct the makeup that has been applied by the subject before the photoshoot. A retoucher might darken the eyebrows, even out the lipstick, increase the intensity of eyeshadow, or add a touch of blush. This doesn’t mean applying makeup from scratch, but rather refining what the subject already has. For example, if a client’s lipstick is slightly smudged, the retoucher can easily fix it, ensuring the final image is flawless.
Hair Retouching
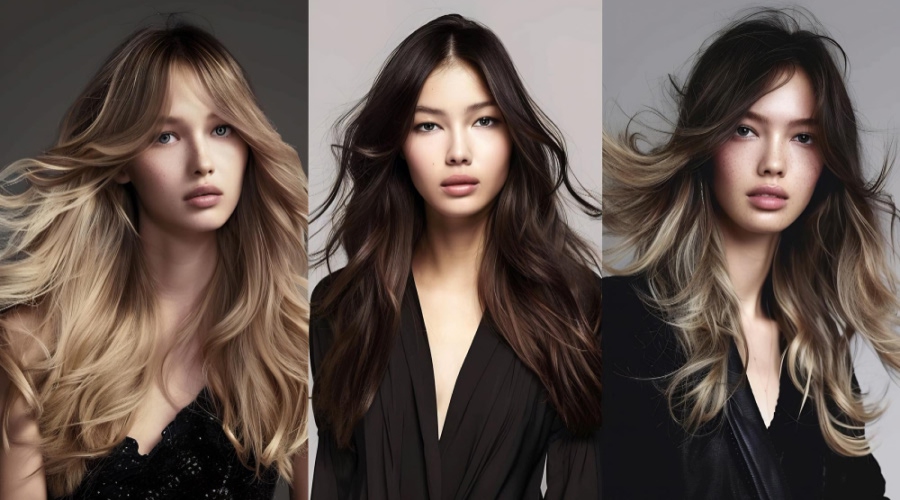
Common hair retouching techniques include taming flyaways, filling in gaps in the hair, and adding volume or shine to make the hair look perfect. Imagine a perfect outdoor photo ruined by a few stray hairs blowing in the wind, a retoucher can meticulously remove each strand for you. They can also adjust the color and highlights in the hair to give it a more vibrant, eye-catching look.
Lighting Adjustments
Lighting adjustments are minimally important to create mood and add depth to a photo. Techniques such as ‘dodge and burn’ are used to lighten (dodge) and darken (burn) selected points in the image. For example, a professional can lighten cheekbones to highlight them and darken the jawline to add definition. This skillful combination of light and shadow can define the natural contours of the subject.
Photo Editing Apps and Software for Portraits
Choosing the right tools is essential to achieving professional results when using photo editing for portraits. Many modern options today have integrated powerful AI for portrait photo editing technology, which can automate complex tasks such as skin smoothing and object removal, saving you a lot of time. Here are some of the most popular portrait photo editing tools.

For Android and iOS
- Adobe Lightroom Mobile: Lightroom is great for adjusting color and lighting on your phone.
- Snapseed: A free, all-in-one editor from Google with a wide range of tools, including filter adjustments and portrait enhancement features.
- YouCam Perfect: Great for editing selfies, and supports AI-powered beautification tools, makeup effects, and blemish removal.
- AirBrush: This tool focuses on quick and easy editing with tools for smoothing skin, whitening teeth, and brightening eyes.
For PC
- Adobe Photoshop: This is the industry standard for deep editing, offering great control with layers, masks, and advanced tools like Frequency Separation.
- Adobe Lightroom Classic: Another favorite among photographers, thanks to its powerful library management and efficient batch editing capabilities, perfect for handling large, image-heavy photo shoots.
- Capture One Pro: Known for its superior RAW image processing, exceptional color processing, and highly supported tethered shooting features.
- Luminar Neo: This tool uses advanced AI for portrait photo editing technology to simplify complex tasks, as well as providing unique tools such as Sky AI, Face AI, and Skin AI for stunning results with minimal effort.
=> See more: 9+ Best Photo Editing Apps for Beginners in 2025
How To Edit Portrait Photos?
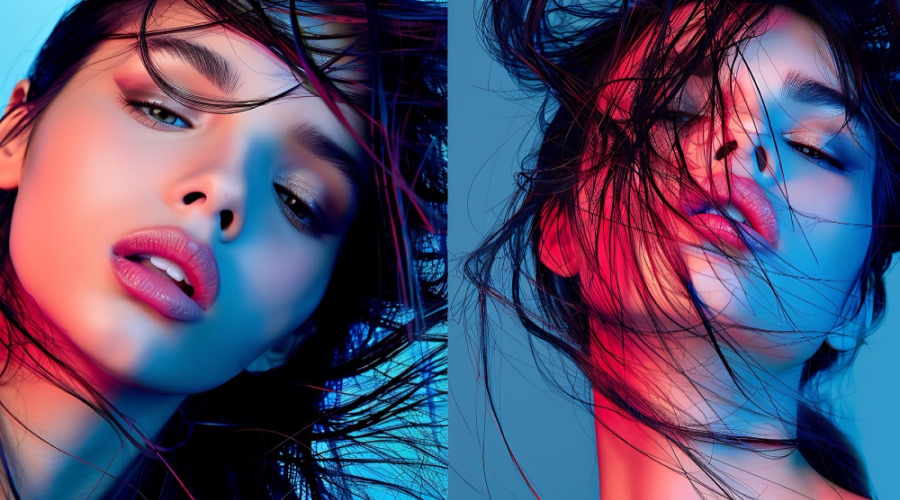
Understanding how to edit portrait photos is a combination of technical skill and artistic vision. The process begins with importing your images into software of your choice, such as Adobe Photoshop or Lightroom. You’ll start with basic adjustments, like correcting exposure, white balance, and overall color tone to create a balanced image. From there, you move into detailed editing, where you focus on smoothing skin, removing blemishes, enhancing eyes, and refining hair. The goal is to achieve your desired aesthetic—whether it’s a clean, commercial look or a dramatic, artistic style—by carefully applying these techniques to enhance your subject’s best features and the overall quality of the image.
To help you get started, here is a detailed 5-step process that any individual can follow for portrait photo editing if you don’t want to seek professional help
Step 1: Basic Alignment and Adjustments
This is the most important step in portrait photo editing to create a clean image before getting into the details.
- Crop & Straighten: First, adjust the composition to your liking. Crop out any unwanted areas and rotate the photo slightly to ensure that the horizon or architectural lines are aligned. This will instantly make your photo look more professional.
- General Adjustments: In software like Lightroom or Adobe Camera Raw, use the following sliders:
- White Balance: Adjust the colors to match reality. If the image has a yellow or blue cast, use this tool to remove the color cast.
- Exposure: Adjust the overall brightness and darkness of the photo.
- Contrast: Increase or decrease the difference between the light and dark areas to make the main subject of the photo stand out.
- Highlights & Shadows: Drag the Highlights slider down to bring back detail in areas that are too bright (like the sky) and drag the Shadows slider up to bring out detail in areas that are too dark.
Step 2: Clean up excess and unwanted details
After you have a good base, zoom in and work on the small details. Think of this step as a digital “concealer.” The Spot Healing Brush or Clone Stamp in Photoshop are great tools for this step to remove temporary blemishes like pimples, small blemishes, or stray hairs.
Note: Only remove temporary elements. Permanent features like moles or scars are often part of a person’s identity, and keeping them will help make the photo more authentic.
Step 3: Deep portrait editing
This is where your subject shines.
- Skin Smoothing: Avoid automatic filters that make skin look plastic and unnatural. Instead, use gentle techniques to even out skin tone and reduce shine. The goal is to reduce unevenness, not to completely erase skin texture.
- Eye Enhancement: The eyes are the windows to the soul. Use selective editing tools to: Lighten the whites slightly; Add a little sharpness and saturation to the iris; Bring out the “catchlight” (the reflection in the eye) to create depth and life.
Step 4: Color and Sharpen
Once you’ve completed the technical steps, it’s time to get creative.
- Color Grading: Different from the color correction in step 1, artistic color grading is the process of adding a certain color tone to the entire photo to create a specific mood or style, such as warm, vintage tones or cool, cinematic tones.
- Sharpening: Use a final, slight sharpening effect to sharpen the entire photo, especially important details like eyes and hair.
Step 5: Export
Finally, export your work. Choose a high-quality JPEG format for posting to social media or sharing via email. If you need to print, choose TIFF format for the best quality.
Tips for Better Portrait Photo Editing
• Don’t overdo it: The best edits are often imperceptible. Aim for natural enhancements rather than a fake, “plastic” look.
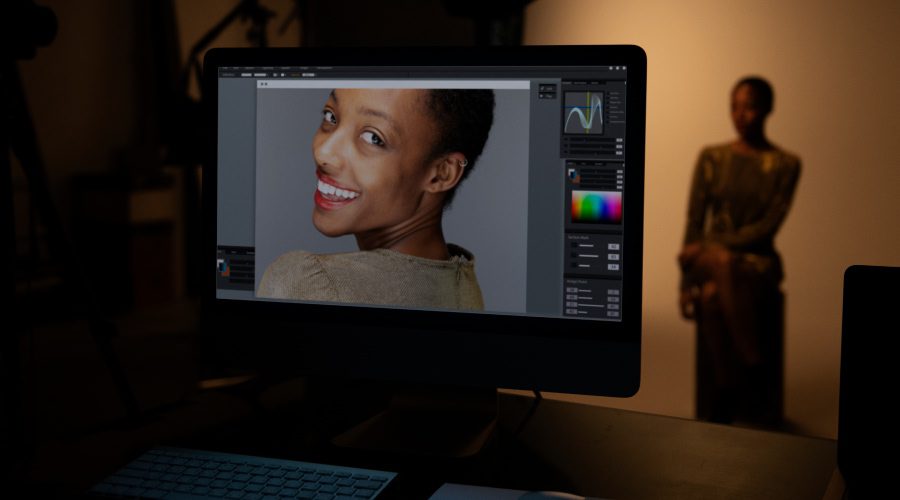
• Calibrate Your Monitor: Make sure your monitor displays colors accurately to avoid edits that look different on other monitors.
• Be gentle with skin: When smoothing skin, keep some of the natural texture. Over-smoothing is a common mistake that makes portraits look fake.
• Zoom in and out: Zoom in on the details of the photo as you work and focus, then zoom out frequently to see how your changes affect the overall image.
• Eyes are Key: Spend more time on the eyes. Making them sharp, bright, and expressive will make your portraits come to life.
• Tell a Story: Use color and light to create a mood that tells a story about the subject (Unique Attribute). Your editing choices should support the story of the photo more.
Conclusion
Overall, mastering and understanding the fundamentals of portrait photo editing is essential to creating professional photos. This article covers basic techniques like color correction and skin editing to choosing the right software, each step plays an important role in the final result. Whether you choose to learn how to edit portrait photos yourself or work with professionals, the goal is always to enhance natural beauty. And from the photos, you can tell a compelling and engaging story. For businesses and photographers who demand perfection and efficiency, DIGI-TEXX is the unit that provides a complete solution. Contact DIGI-TEXX today to enhance your image with our professional photo editing for portraits service.
=> Read more:


